The SEasOning
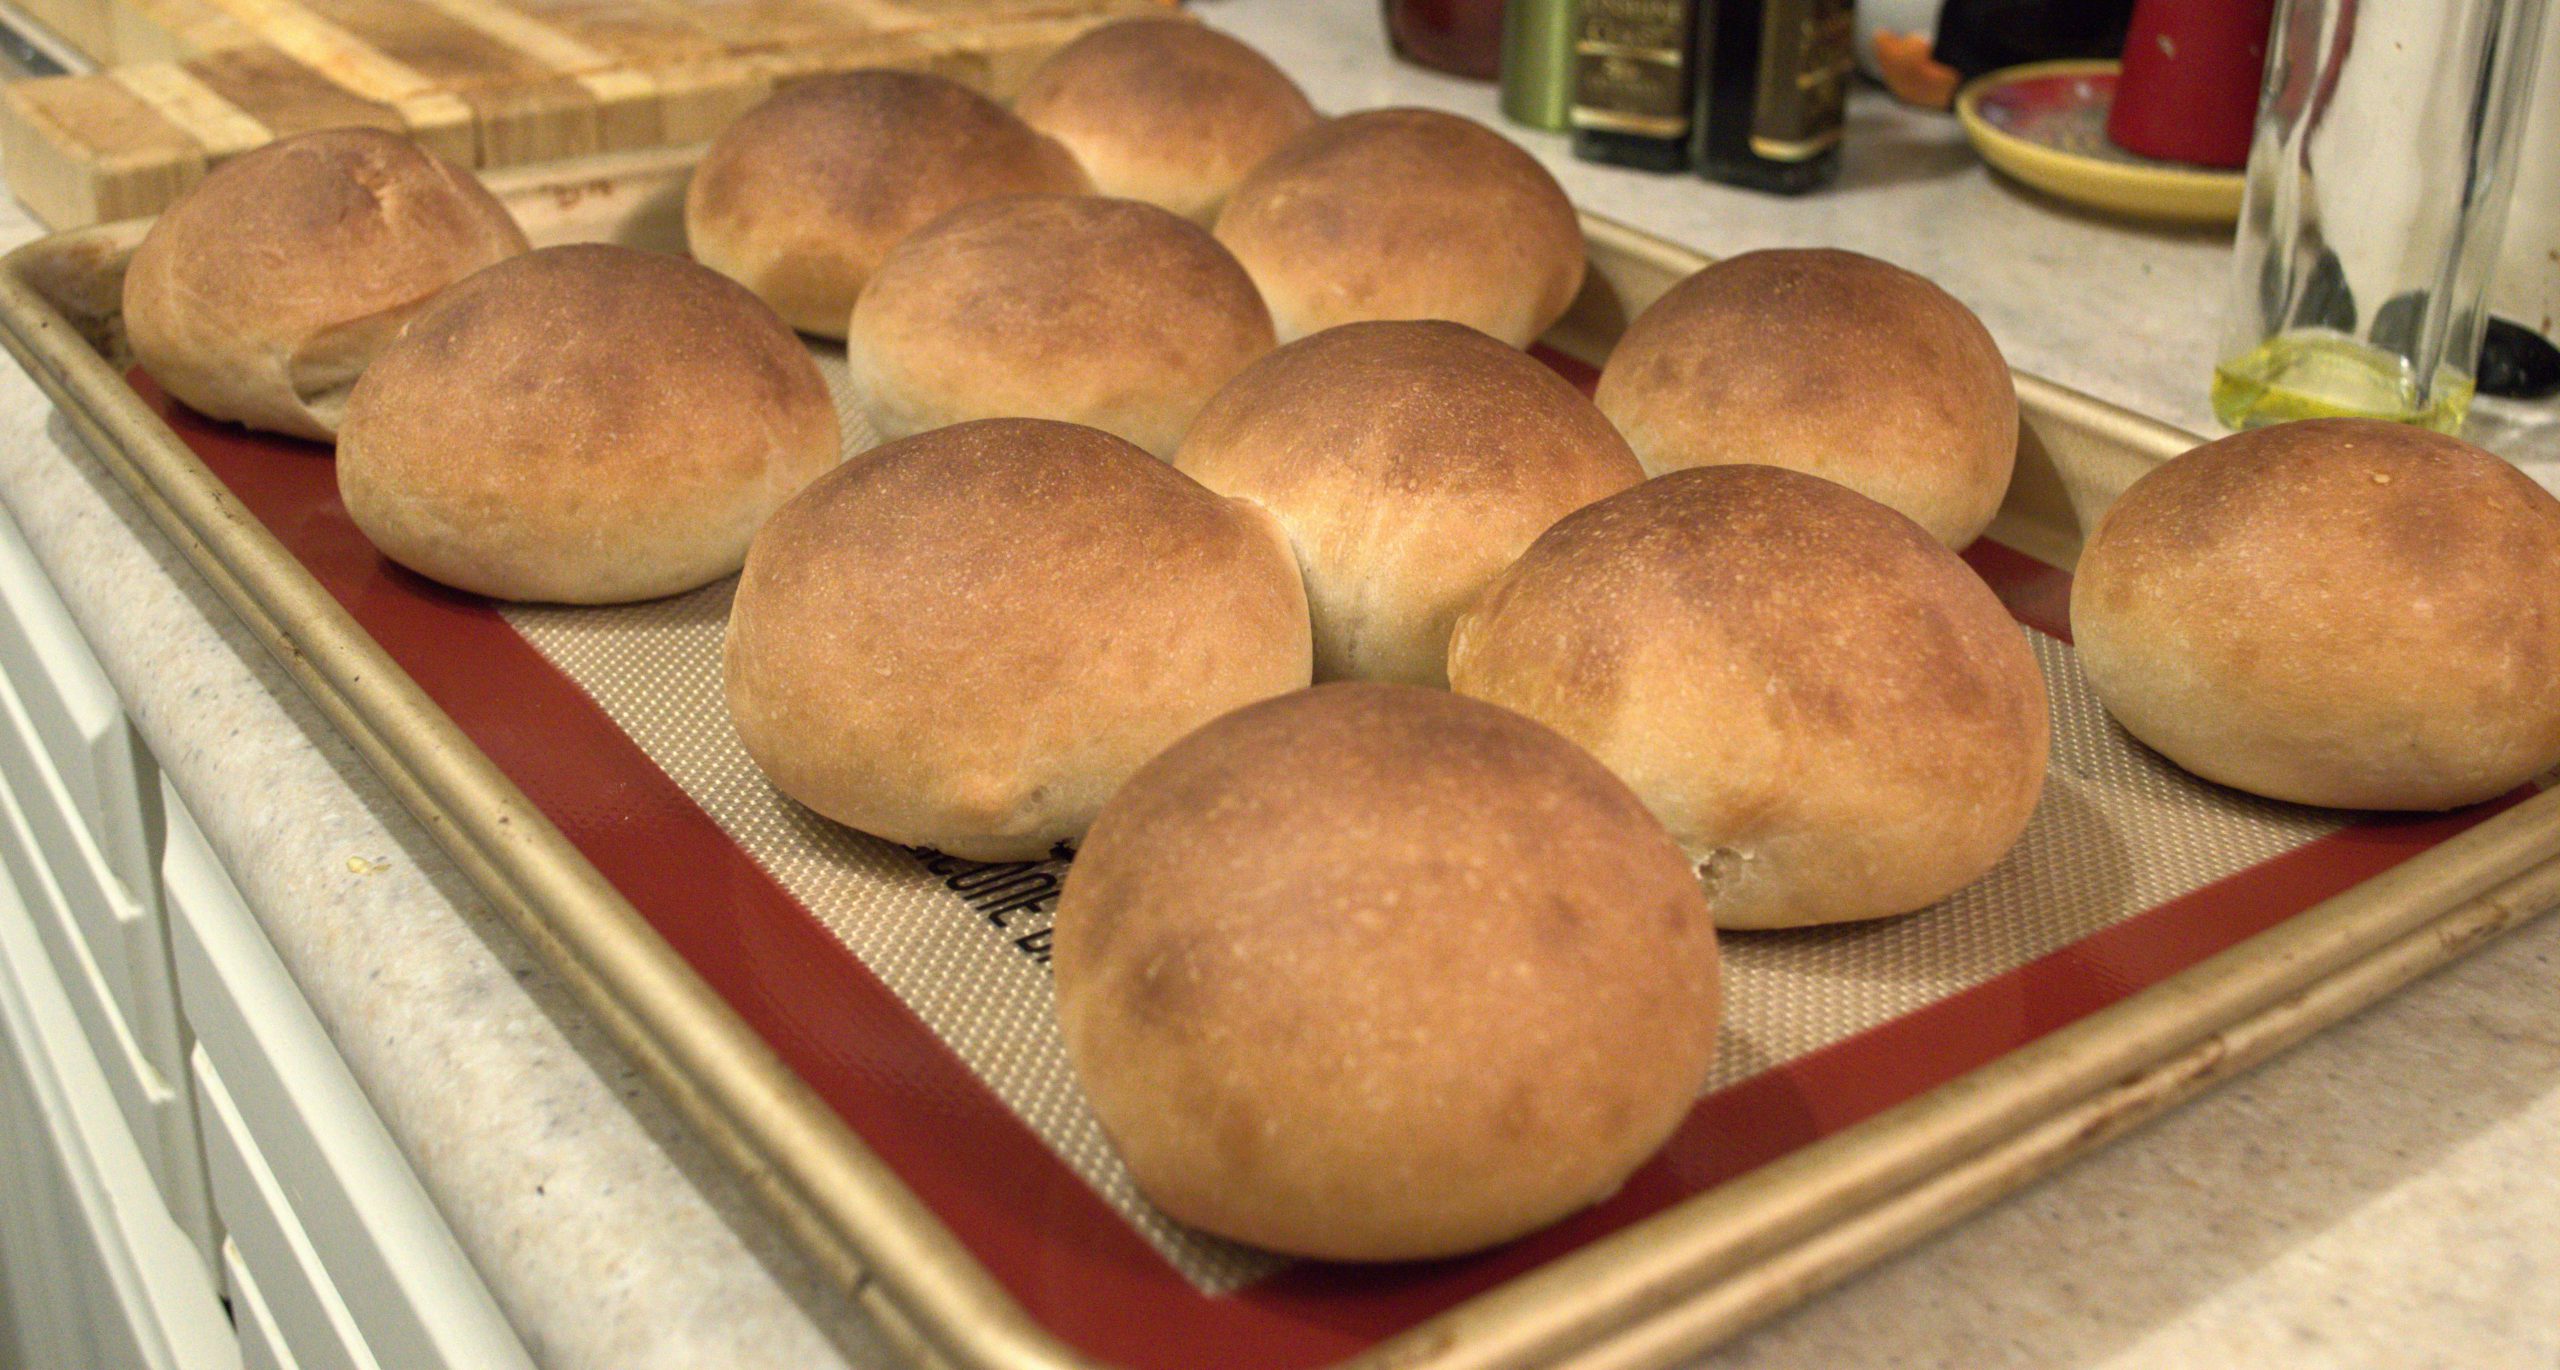
There are a number of food memories that are very clearly burning into my memory. One of them is Hops Bread. It’s something that’s a bit of a mash up of a King’s Hawaiian roll, a crusty bread roll and a dinner roll. It’s a little sweet, with a crusty exterior but a soft and fluffy interior. I’ve spent years chasing this particular dragon, but the only place I’ve been able to find this bread has been in Trinidad. I very clearly remember my aunt buying fresh hops bread from a bakery truck that would drive around her neighbourhood. There is something otherworldly about fresh hops bread with some butter and cheese. I’ve yet to find a recipe or technique that’s been able to replicate the taste and texture, but I think this comes close…
Well, close-ish.
I managed to get the taste right, but I haven’t quite cracked the nut on texture.
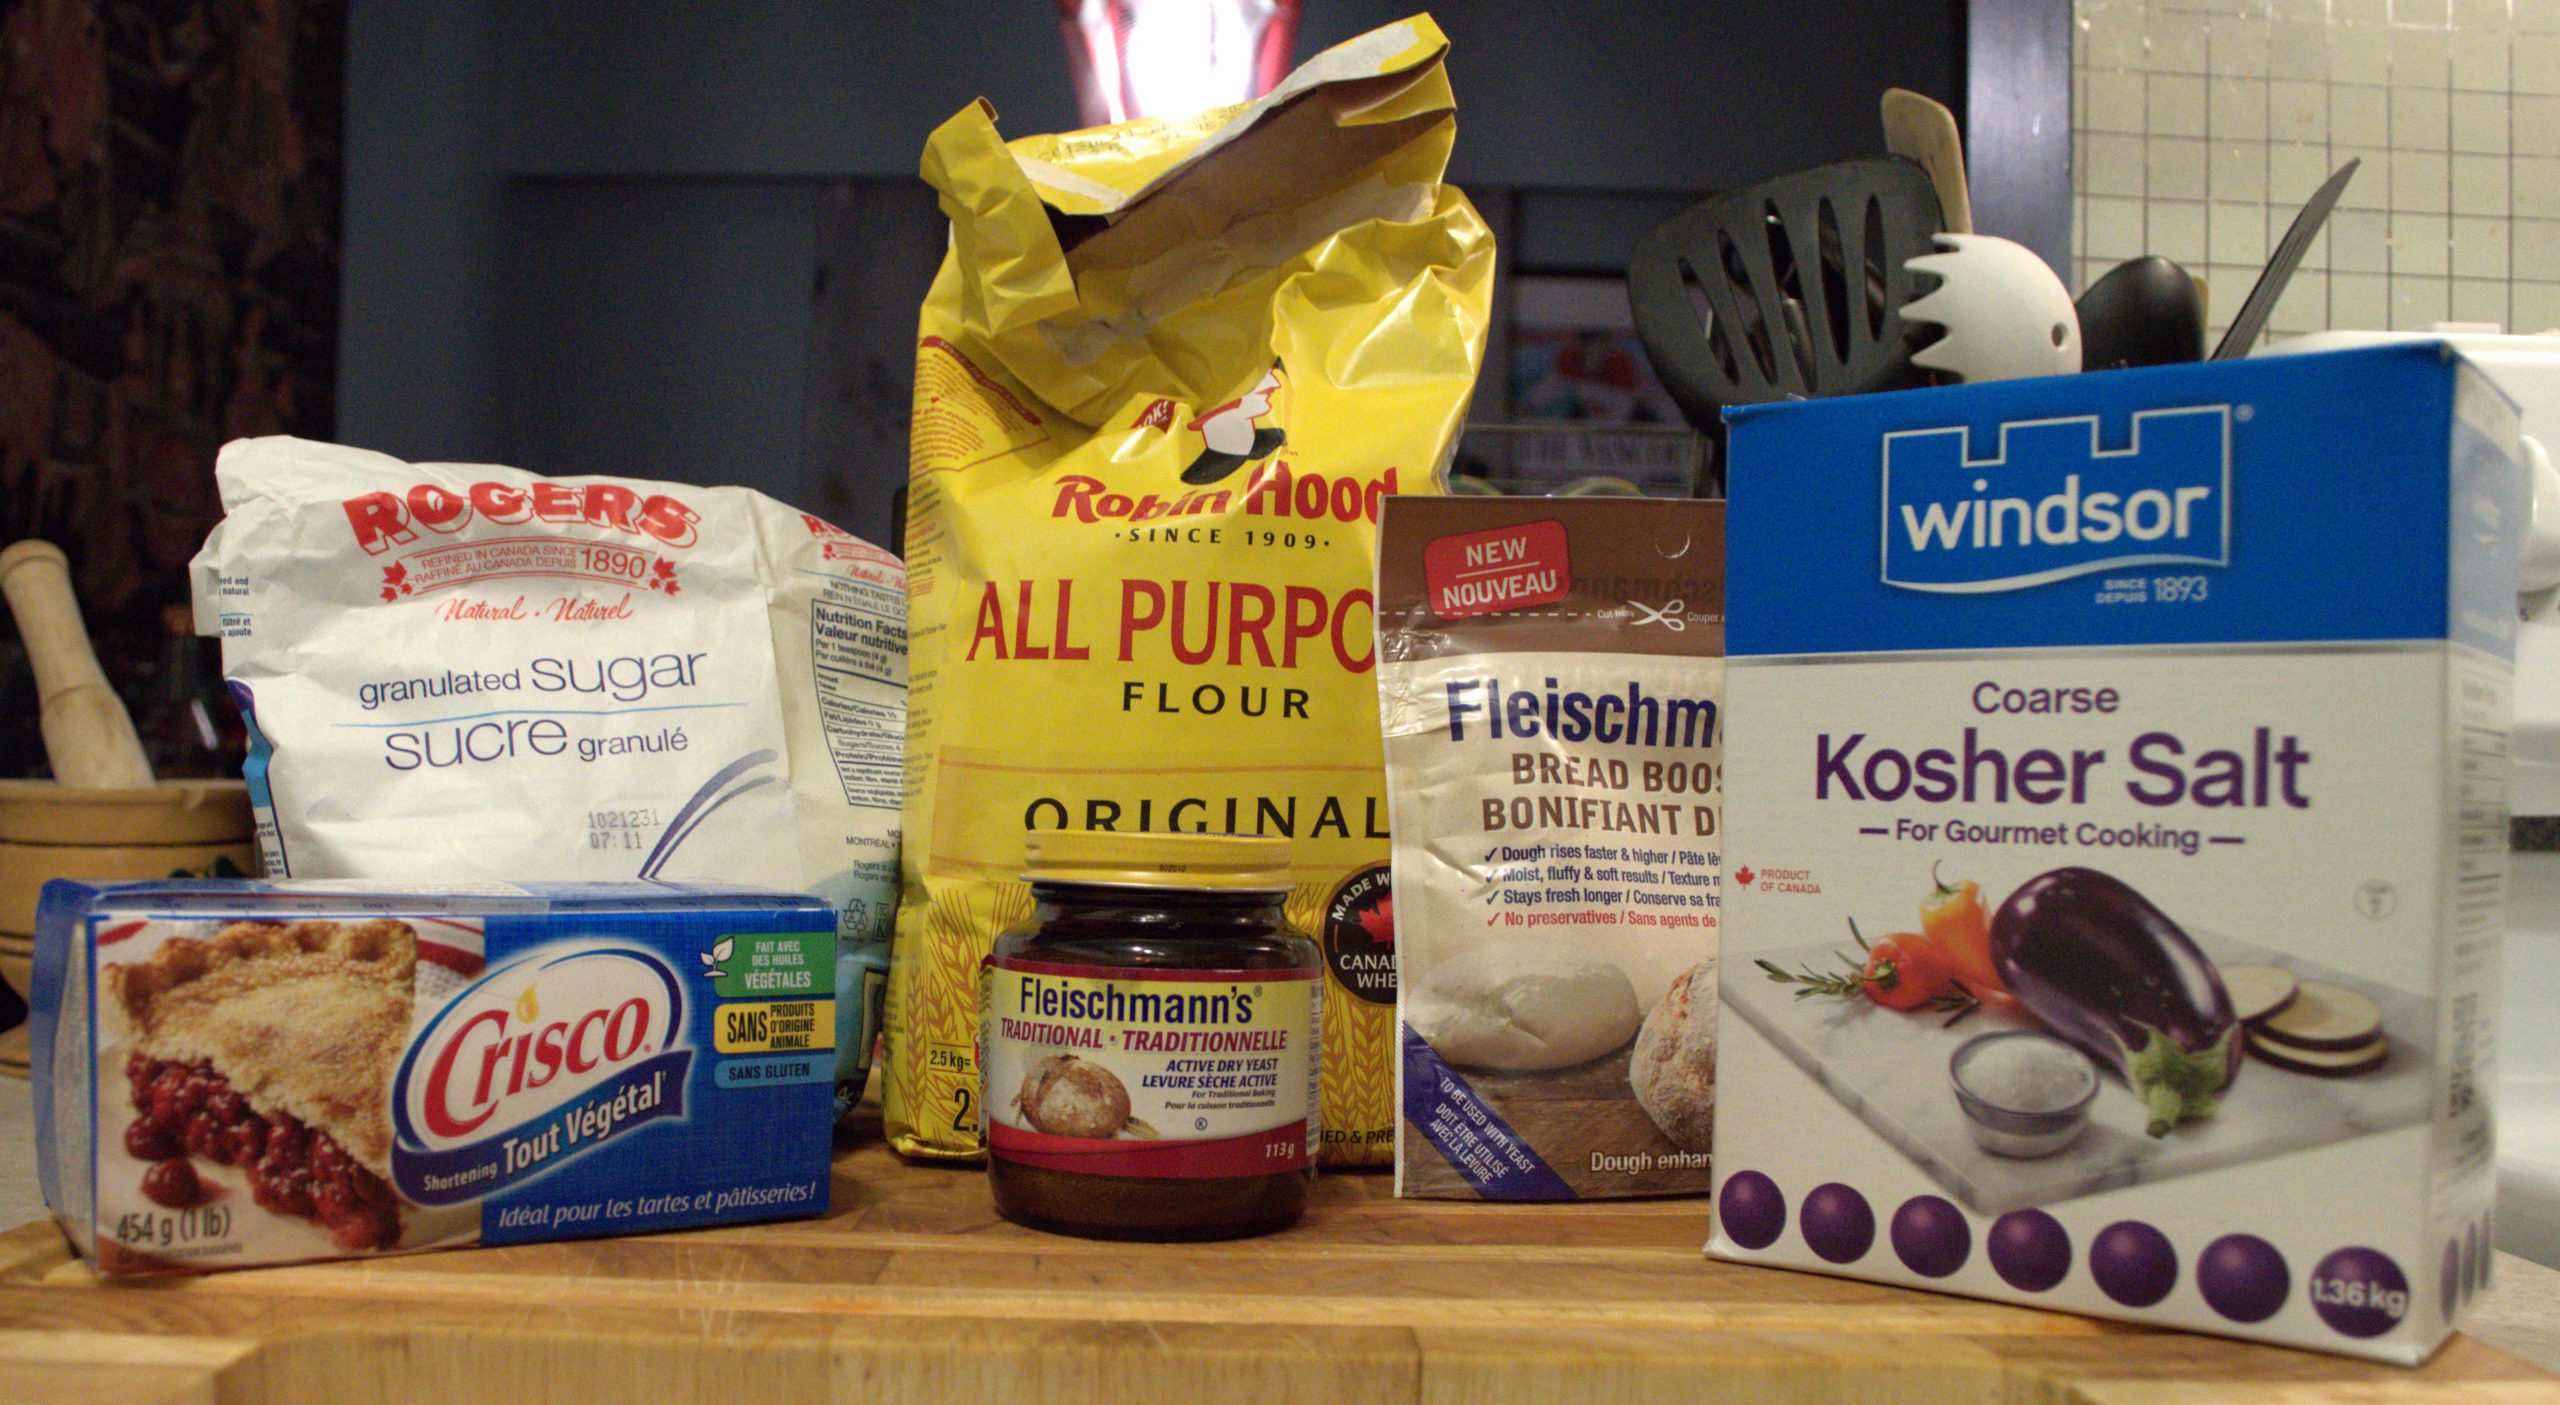
The Ingredients
- 626g all-purpose flour
- 67 g sugar
- 11g yeast
- 47g vegetable shortening (melted)
- 420g warm water
- 1 tsp salt
- 14g bread booster (optional)
- 6 large ice cubes
The Method
- Pre-heat your oven to 400F. Set one of your oven racks to the middle position and set your second rack to its lowest position. Put a cast iron or heavy aluminum skillet on the bottom rack and let it pre-heat with the oven
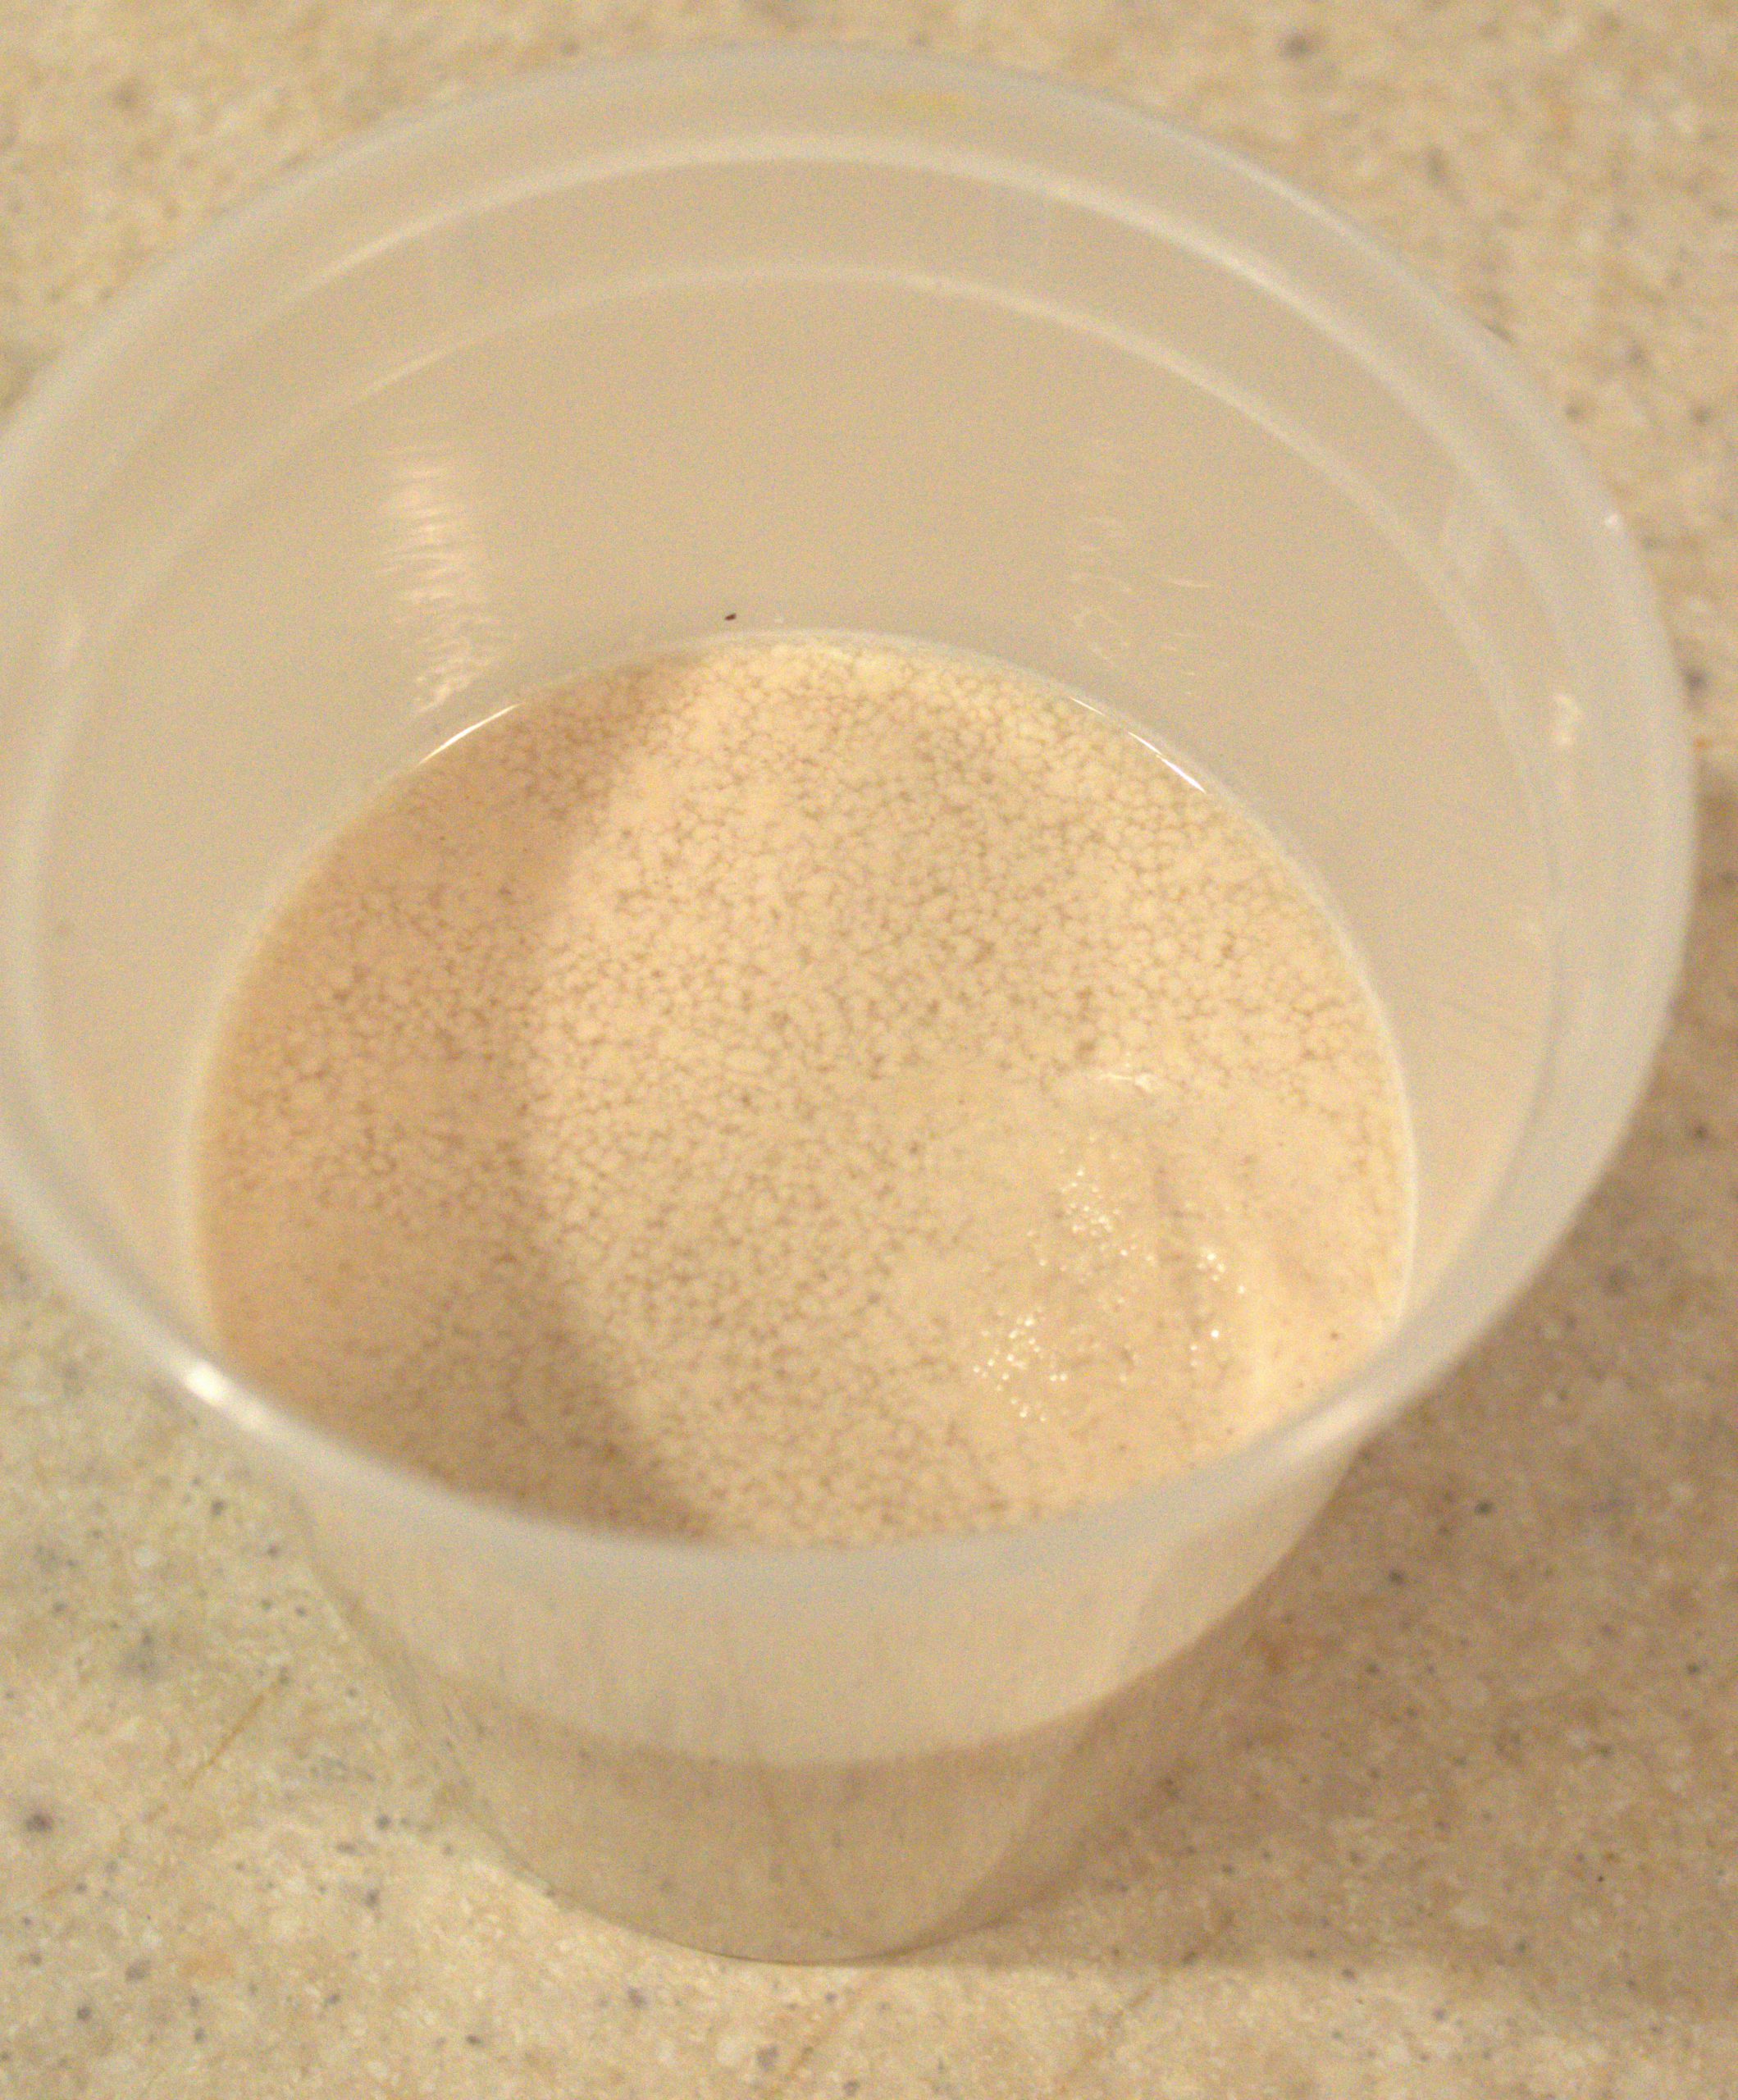
- Stir together your sugar, water and yeast. Let this stand for 10-15min. You want to make sure this gets nice and foamy. If it doesn’t it means your yeast isn’t any good and this recipe isn’t going to work out. Double check the expiry of your yeast before starting
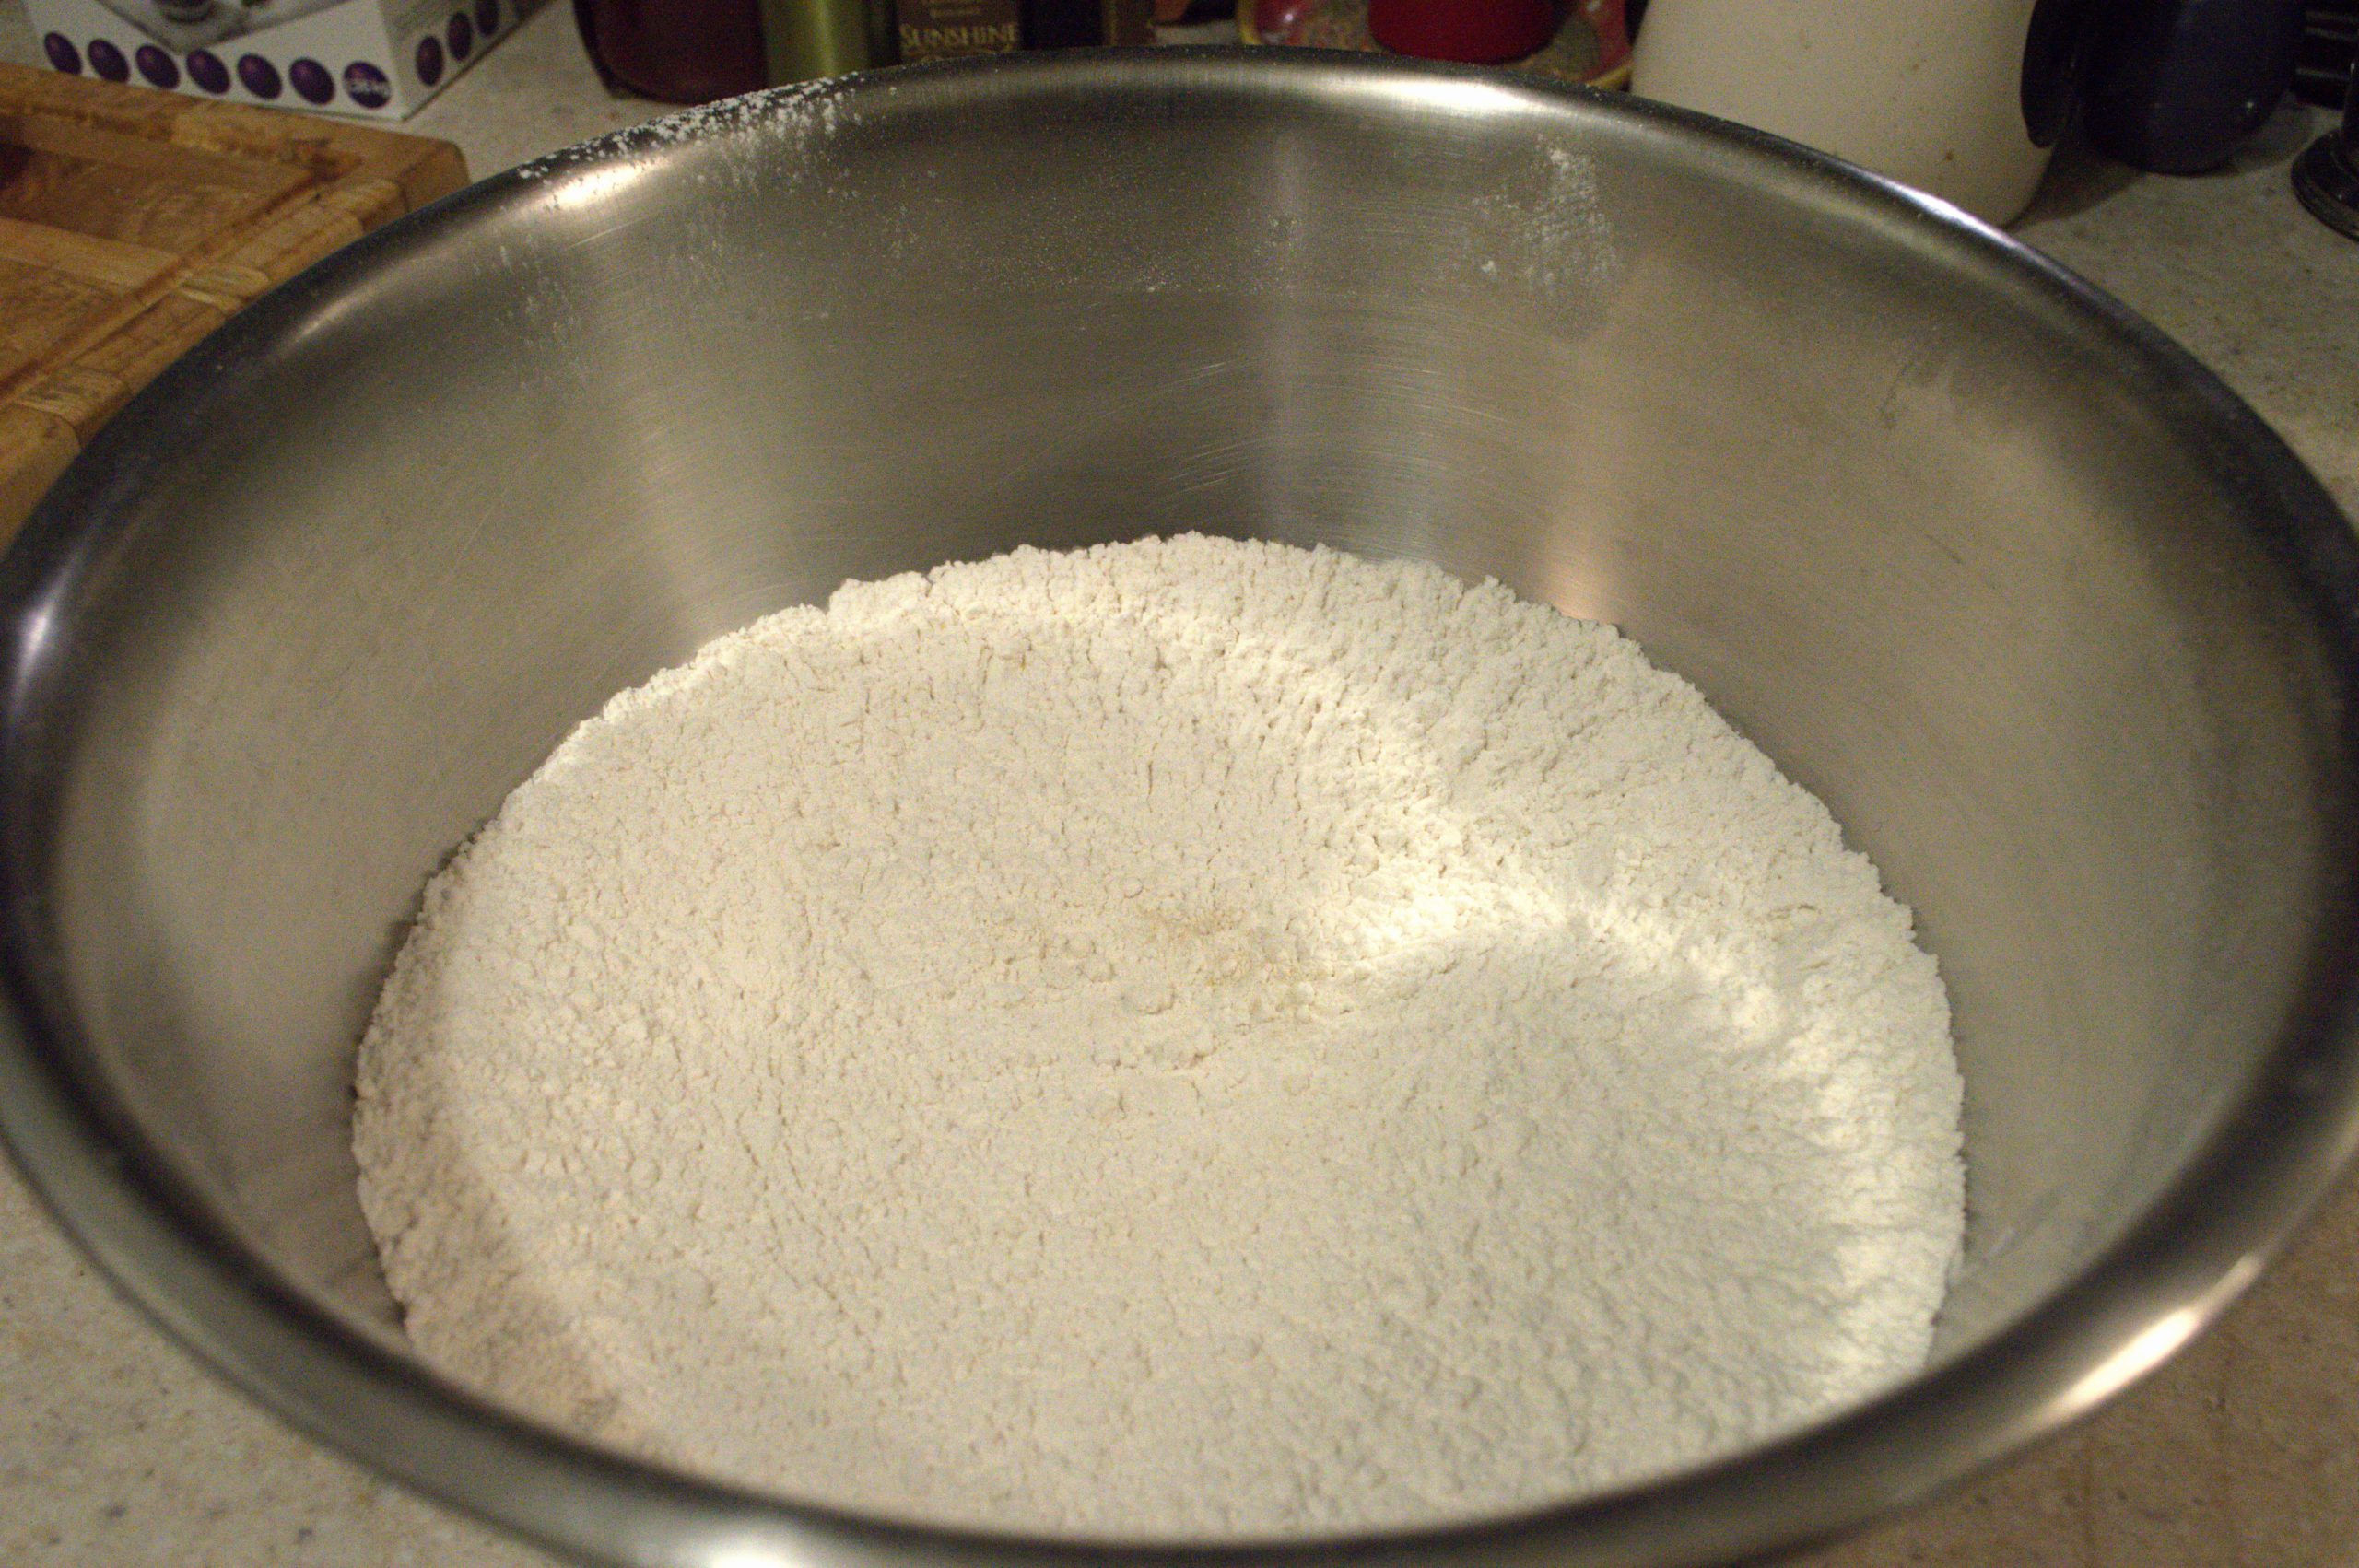
- In a large mixing bowl, sift in your flour then stir in your salt and bread booster
- Note: the bread booster addition is purely optional. All is really contains is extra wheat gluten and ascorbic acid. The extra gluten is going to help give the bread some extra chew since it’ll reinforce the gluten structure of the bread. It’s also going to help with giving a little extra lift to the bread during its rise. The ascorbic acid is just a preservative. It’ll help keep your bread fresher, longer
- Once your yeast mixture has bloomed, add it into your dry ingredients along with the melted shortening. Knead for a few minutes till your dough comes together.
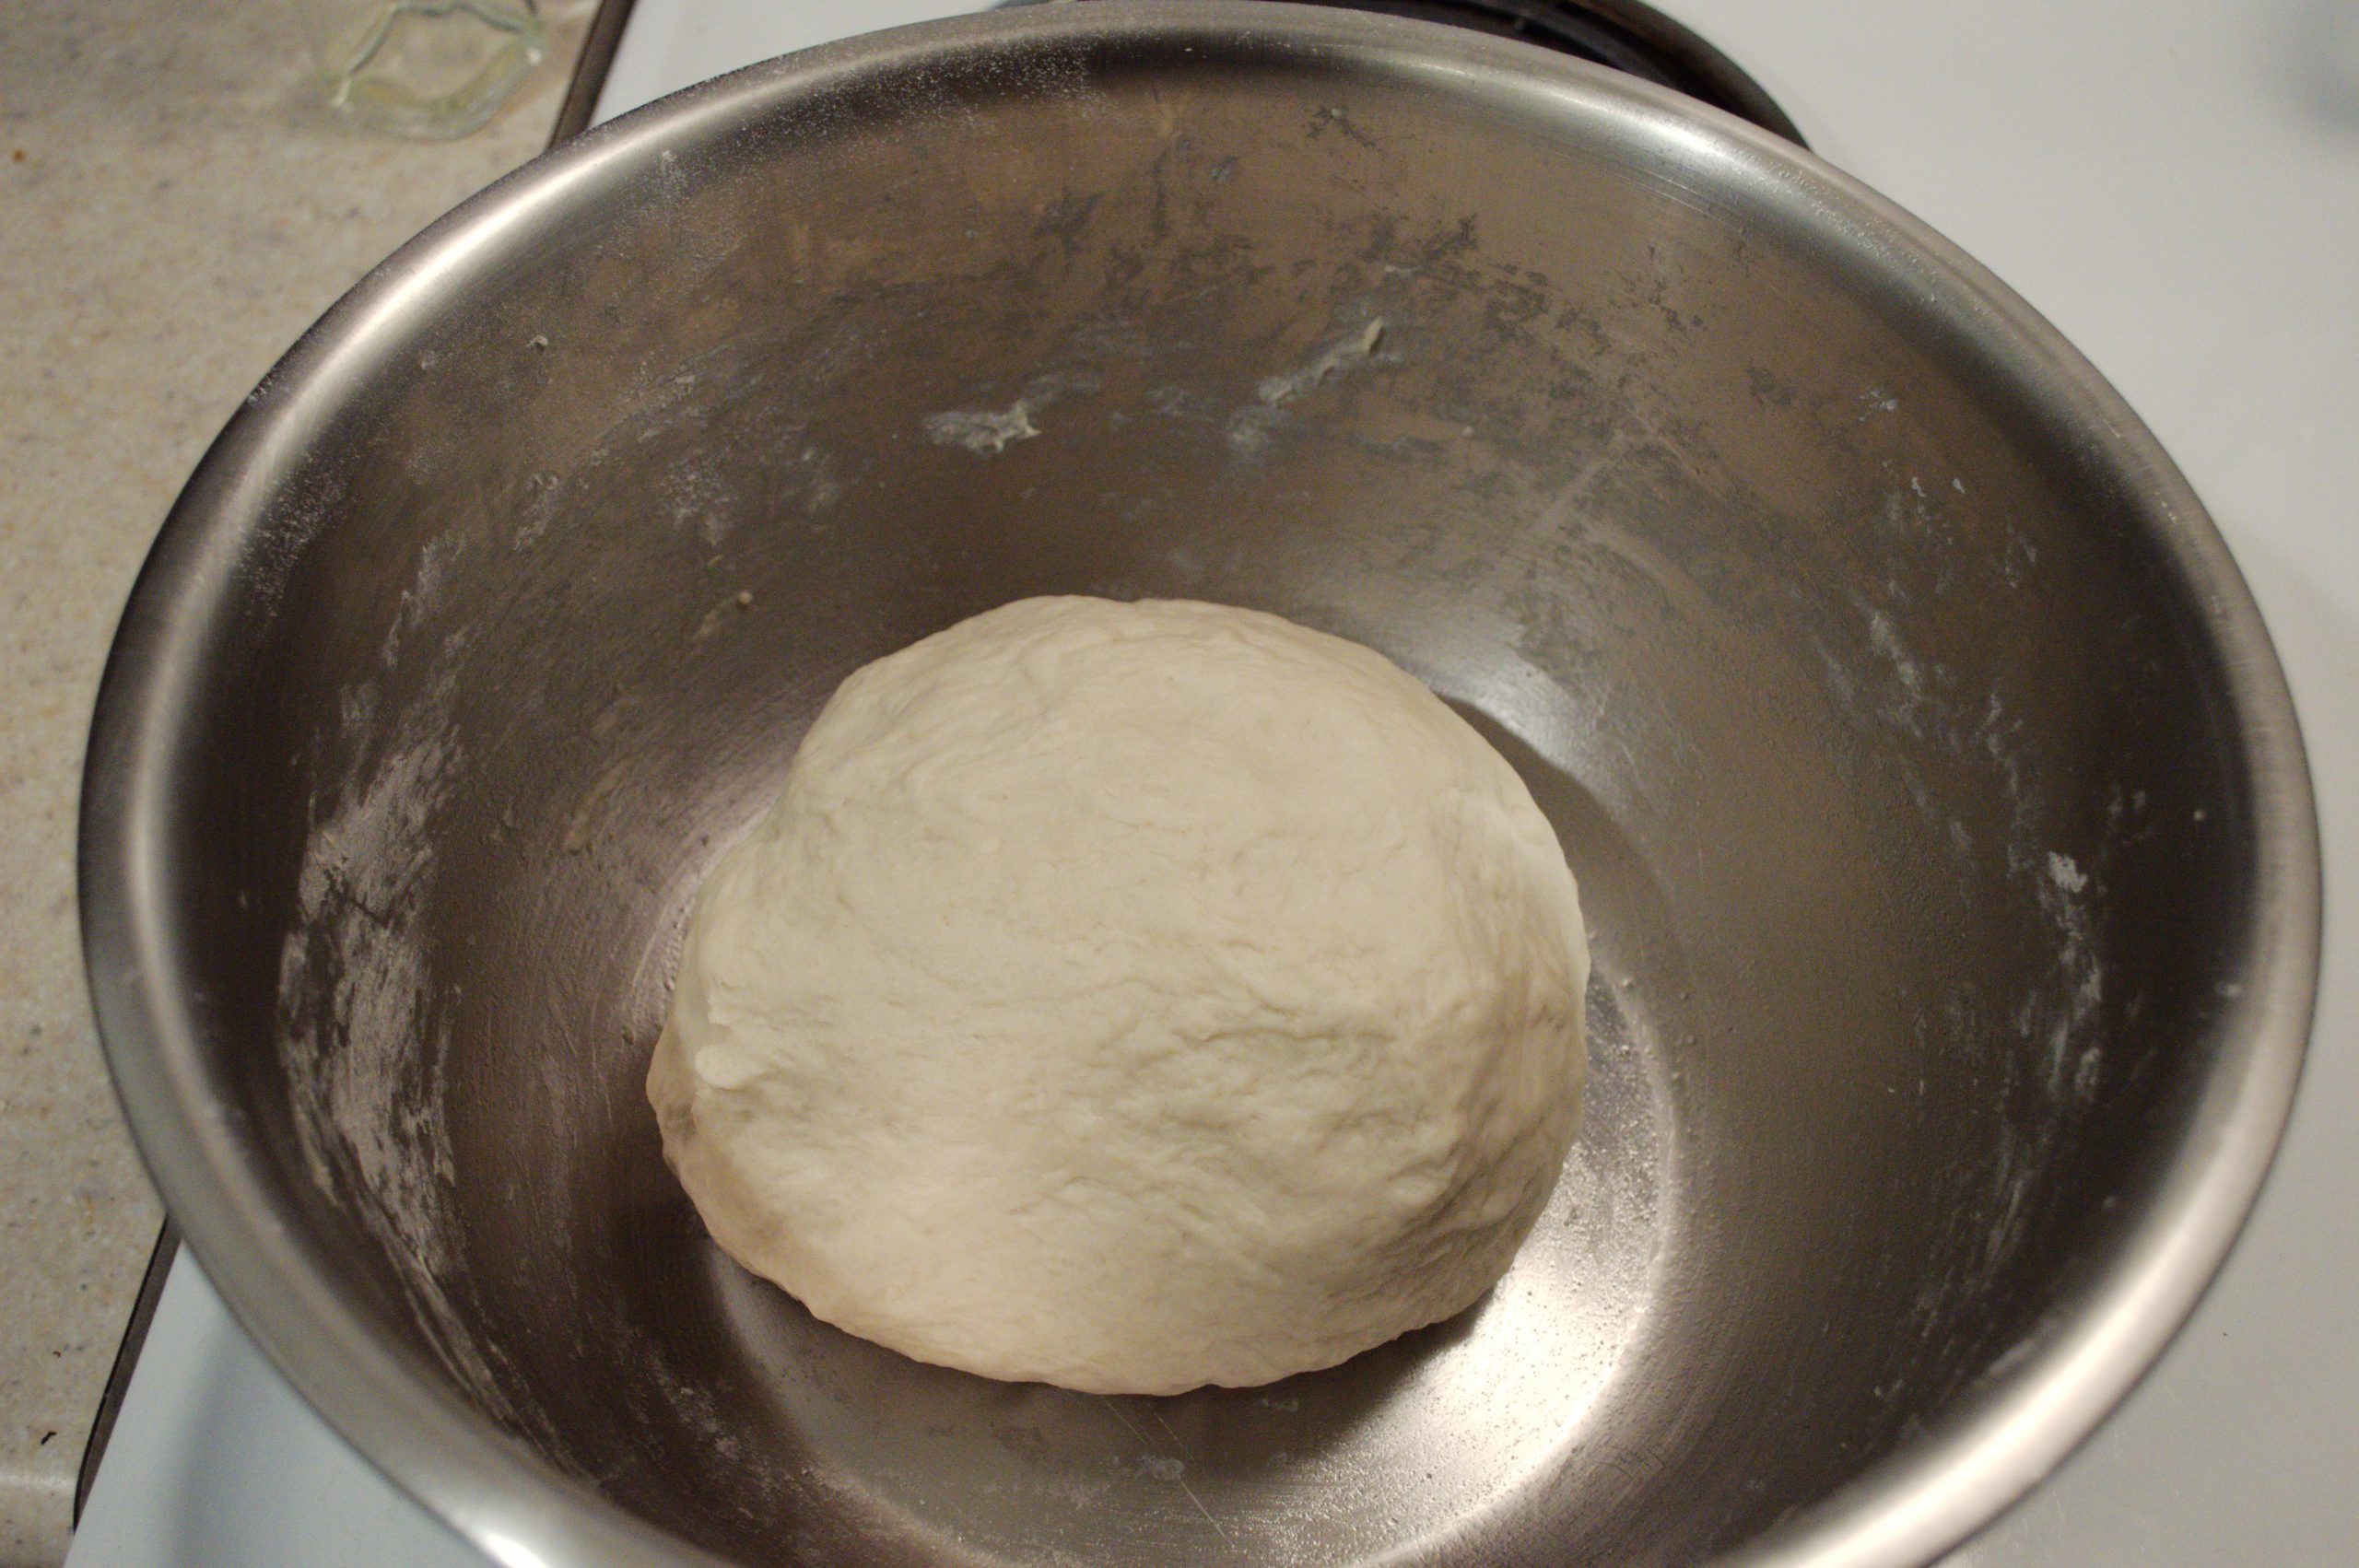
- Turn your partially kneaded down out on to a lightly floured surface and continue kneading for 15-20 min. You’re looking for a smooth dough that has some spring to it. Once kneaded put in back into your mixing bowl, cover tightly with plastic wrap and place in a warm area to rise. You’re going to leave this for ~60min or until the dough doubles in size.
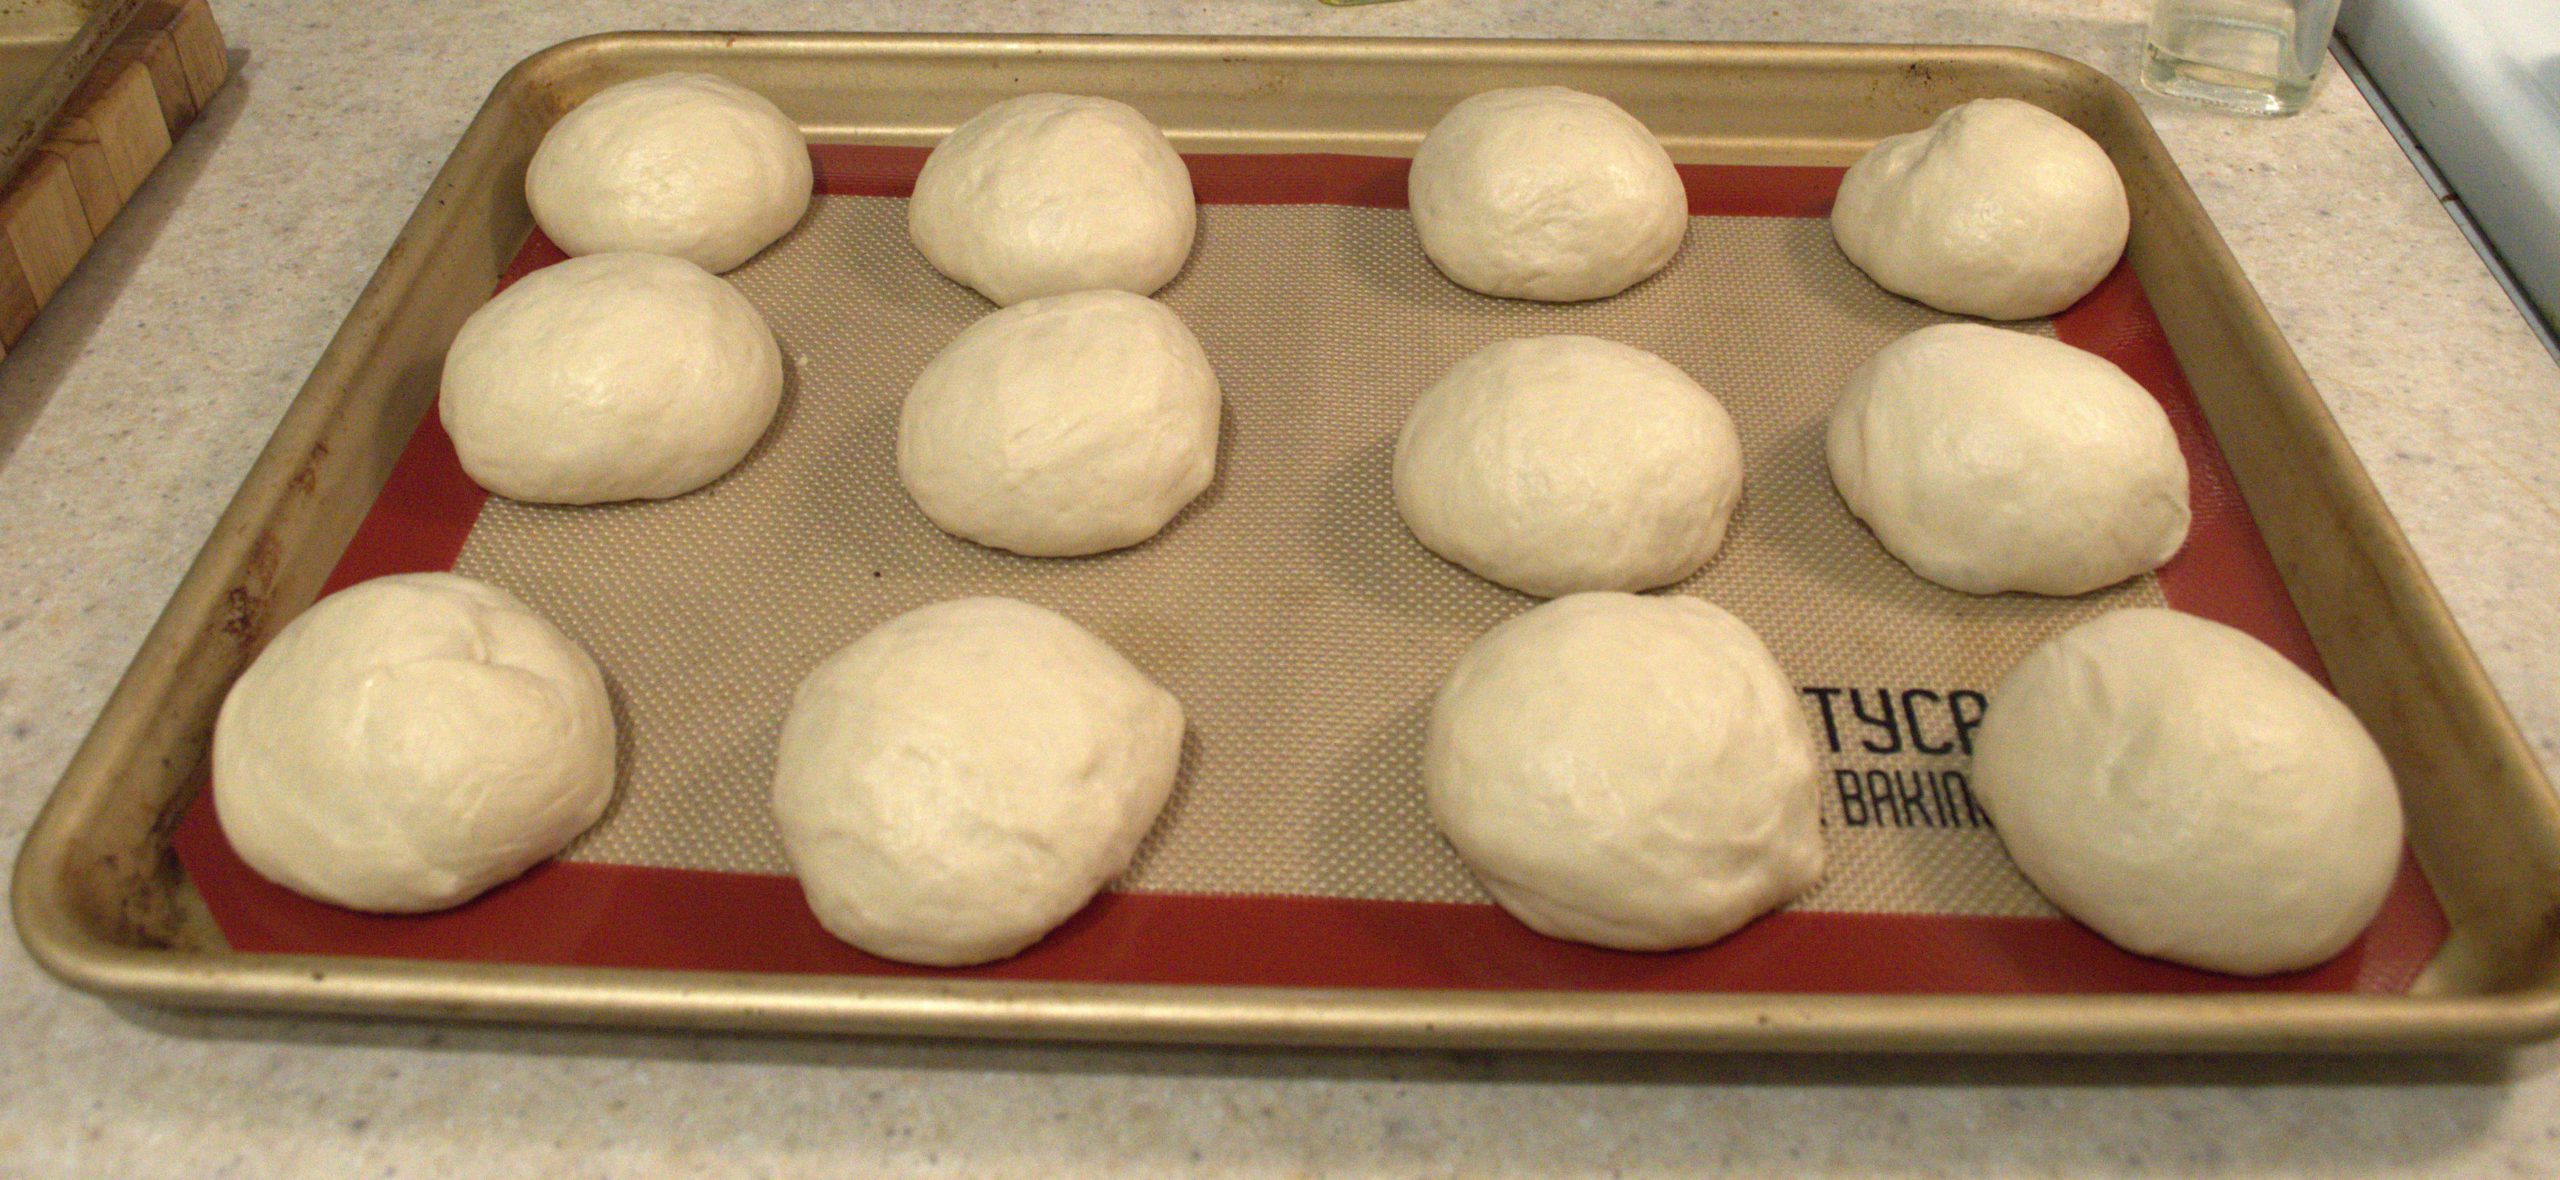
- After this first proofing, remove the plastic wrap and punch down the dough and divide in to 12 equal sized pieces. Roll each piece into a tight ball and place on a parchment lined baking tray
- If you want larger bun you can also divide this into eight. Also, a kitchen scale really helps with this step.
- Cover the dough balls with an inverted baking tray or lightly greased plastic wrap and let rise for another 15-20 min
- Once the oven is heated and the dough risen again remove the plastic wrap and prepare to move quickly here. Get you ice cubes ready. Open the oven door, put your bread in, add your ice cubes to the cast iron pan and then close the oven door. Try to do this as quickly as you can. You want to capture as much of the steam coming off the ice cubes hitting the cast iron pan as you can
- I added this step to try an get a crispy exterior on the buns. The steam technique is often used for bread recipes that have that really crusty exterior. It’s hard to replicate the effects of a commercial oven here, but I find this works well enough. Generally doughs that have fat added produce softer dinner roll like consistency and don’t have that “hard” exterior. With the shortening in this recipe I wasn’t sure how I was going to get that crisp exterior so I decided to roll with this technique.
- Bake for 15 min or until nice and brown. The easiest way to test for doneness is to pick one up and tap the bottom. If it sounds hollow, it’s cooked. Remove the buns from the oven and let cool on a rack
- These are best served warm with some butter and cheese or stuffed with fry-dry and pepper sauce
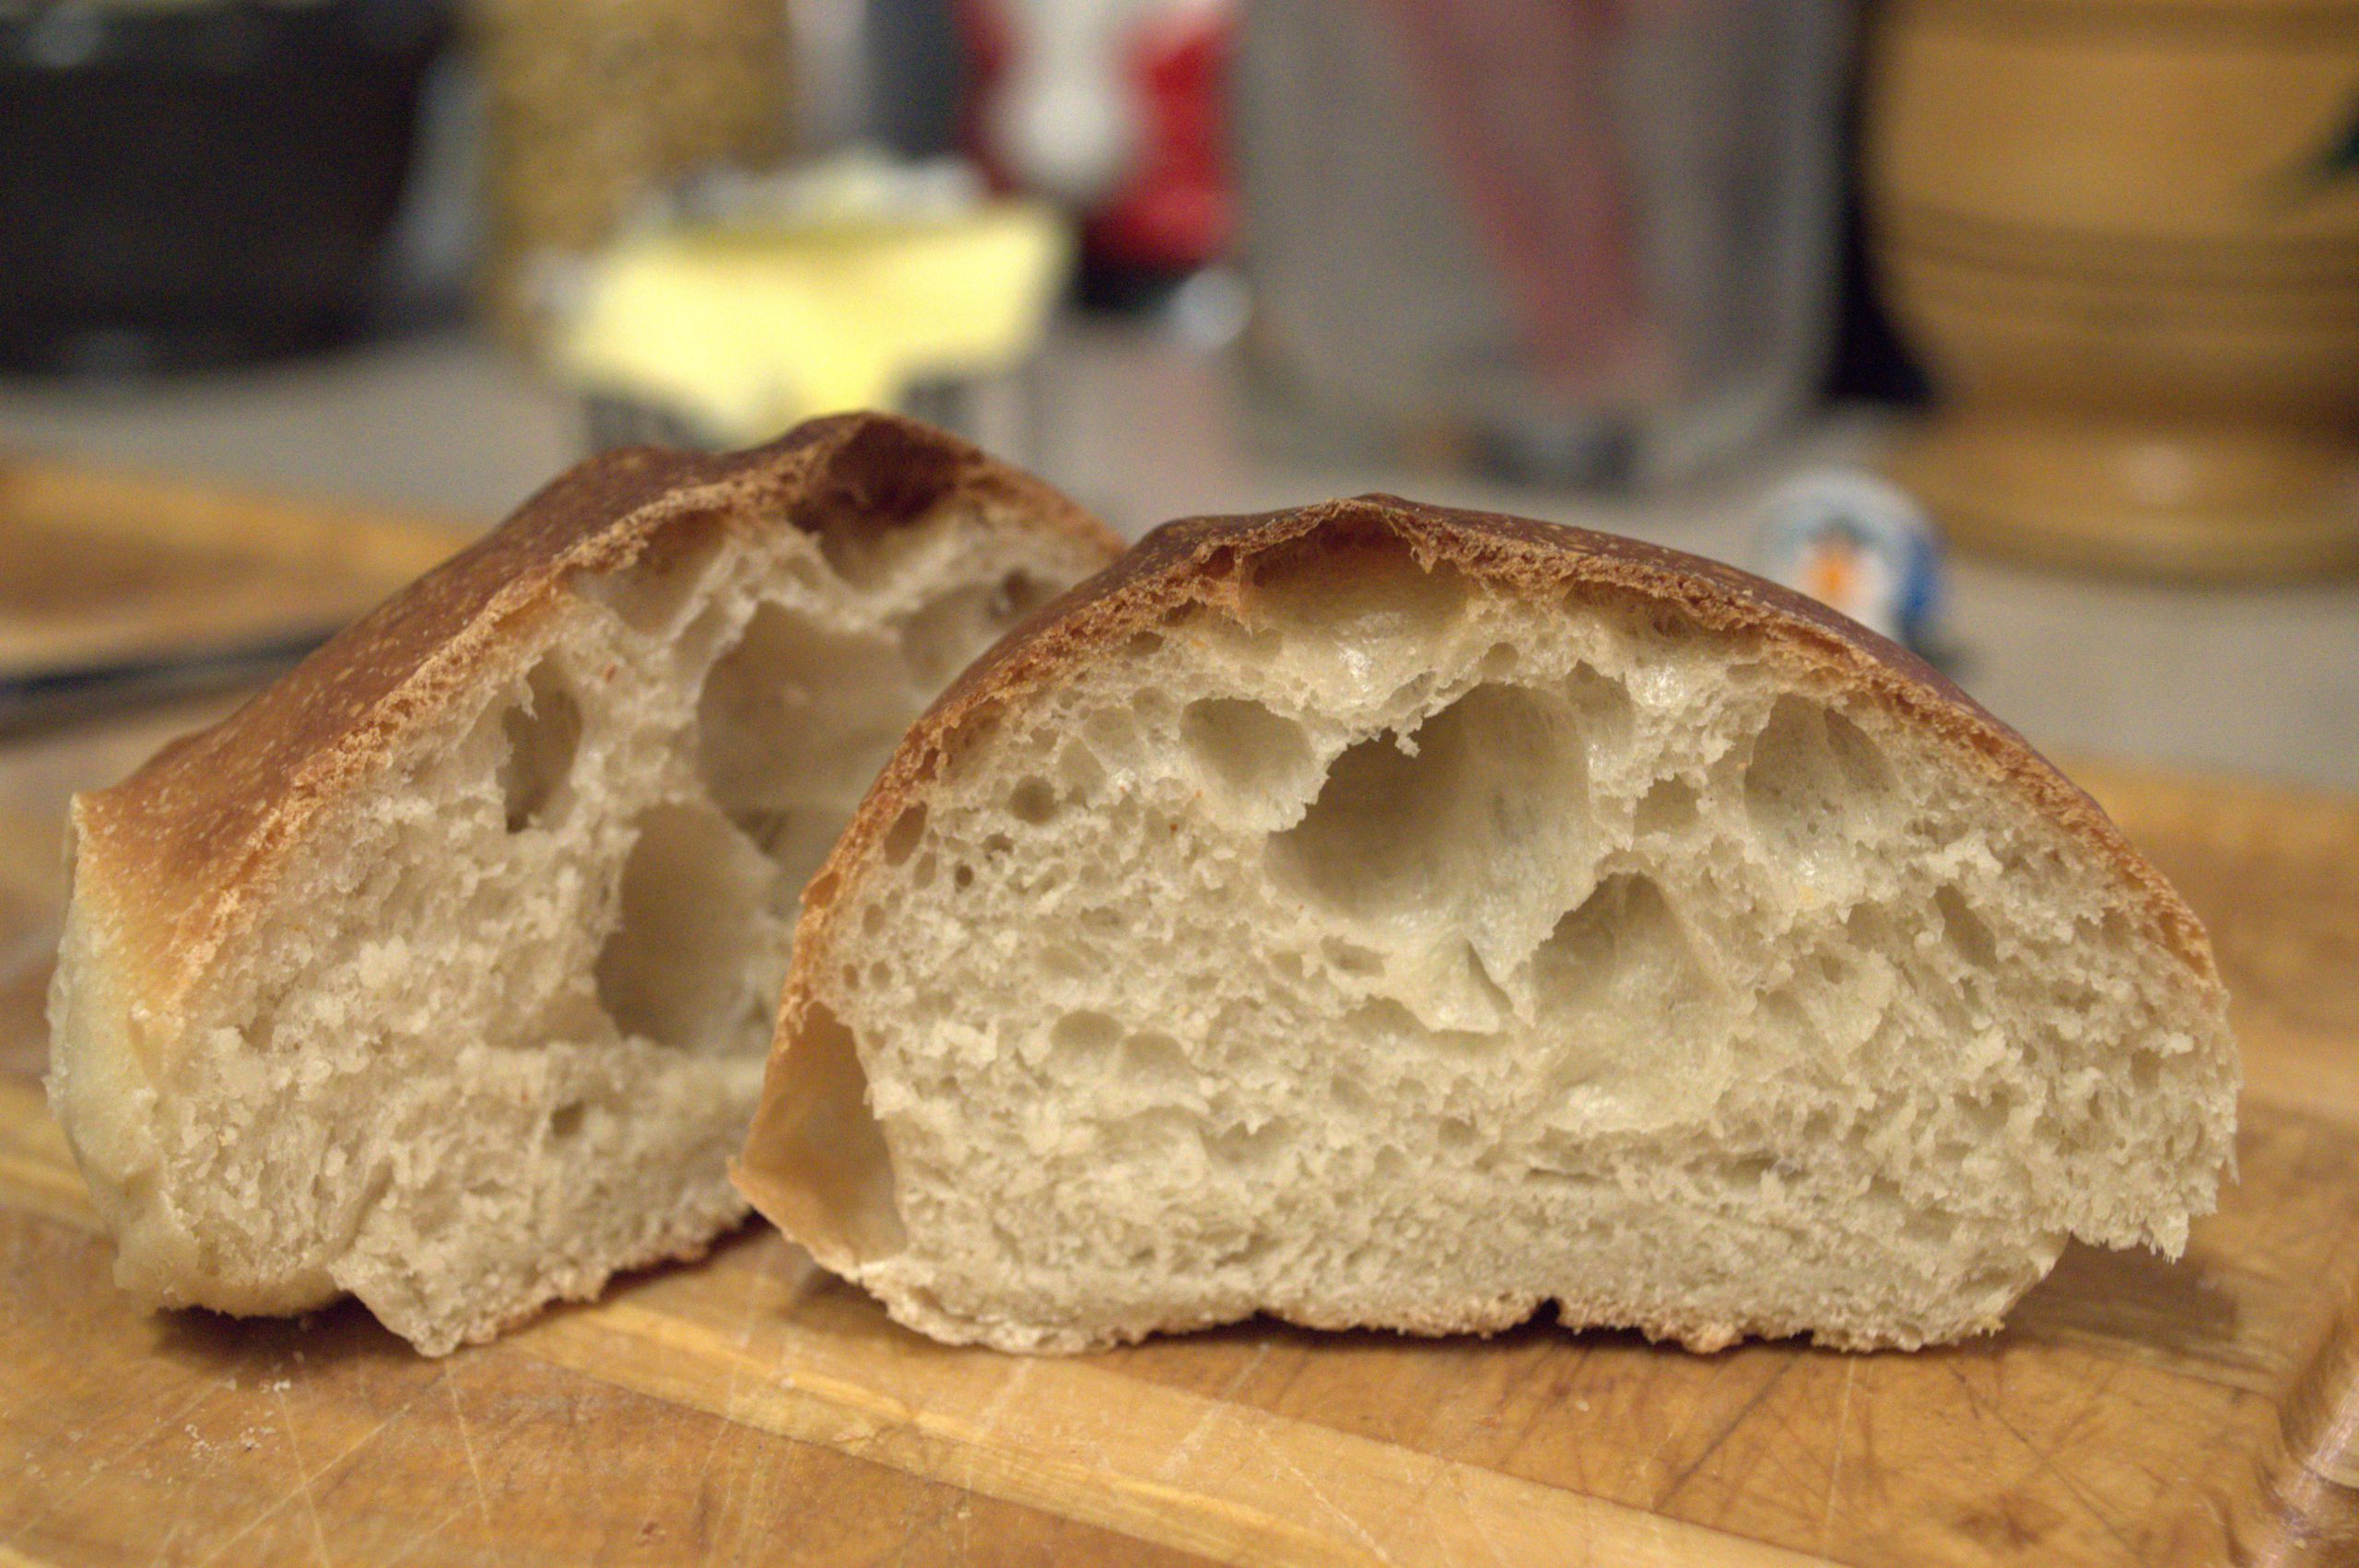
- Notes: So I was able to get the crisp outside I was looking for and the signature sweetness of the Hops Bread in Trinidad. What I wasn’t able to do is get that signature dinner roll texture on the inside. Don’t get me wrong, I was really happy with the crumb, and texture, but it wasn’t quite there. Maybe next time I’ll try cutting in the solid shortening to the flour instead of melting it and adding the with the dry ingredients.
