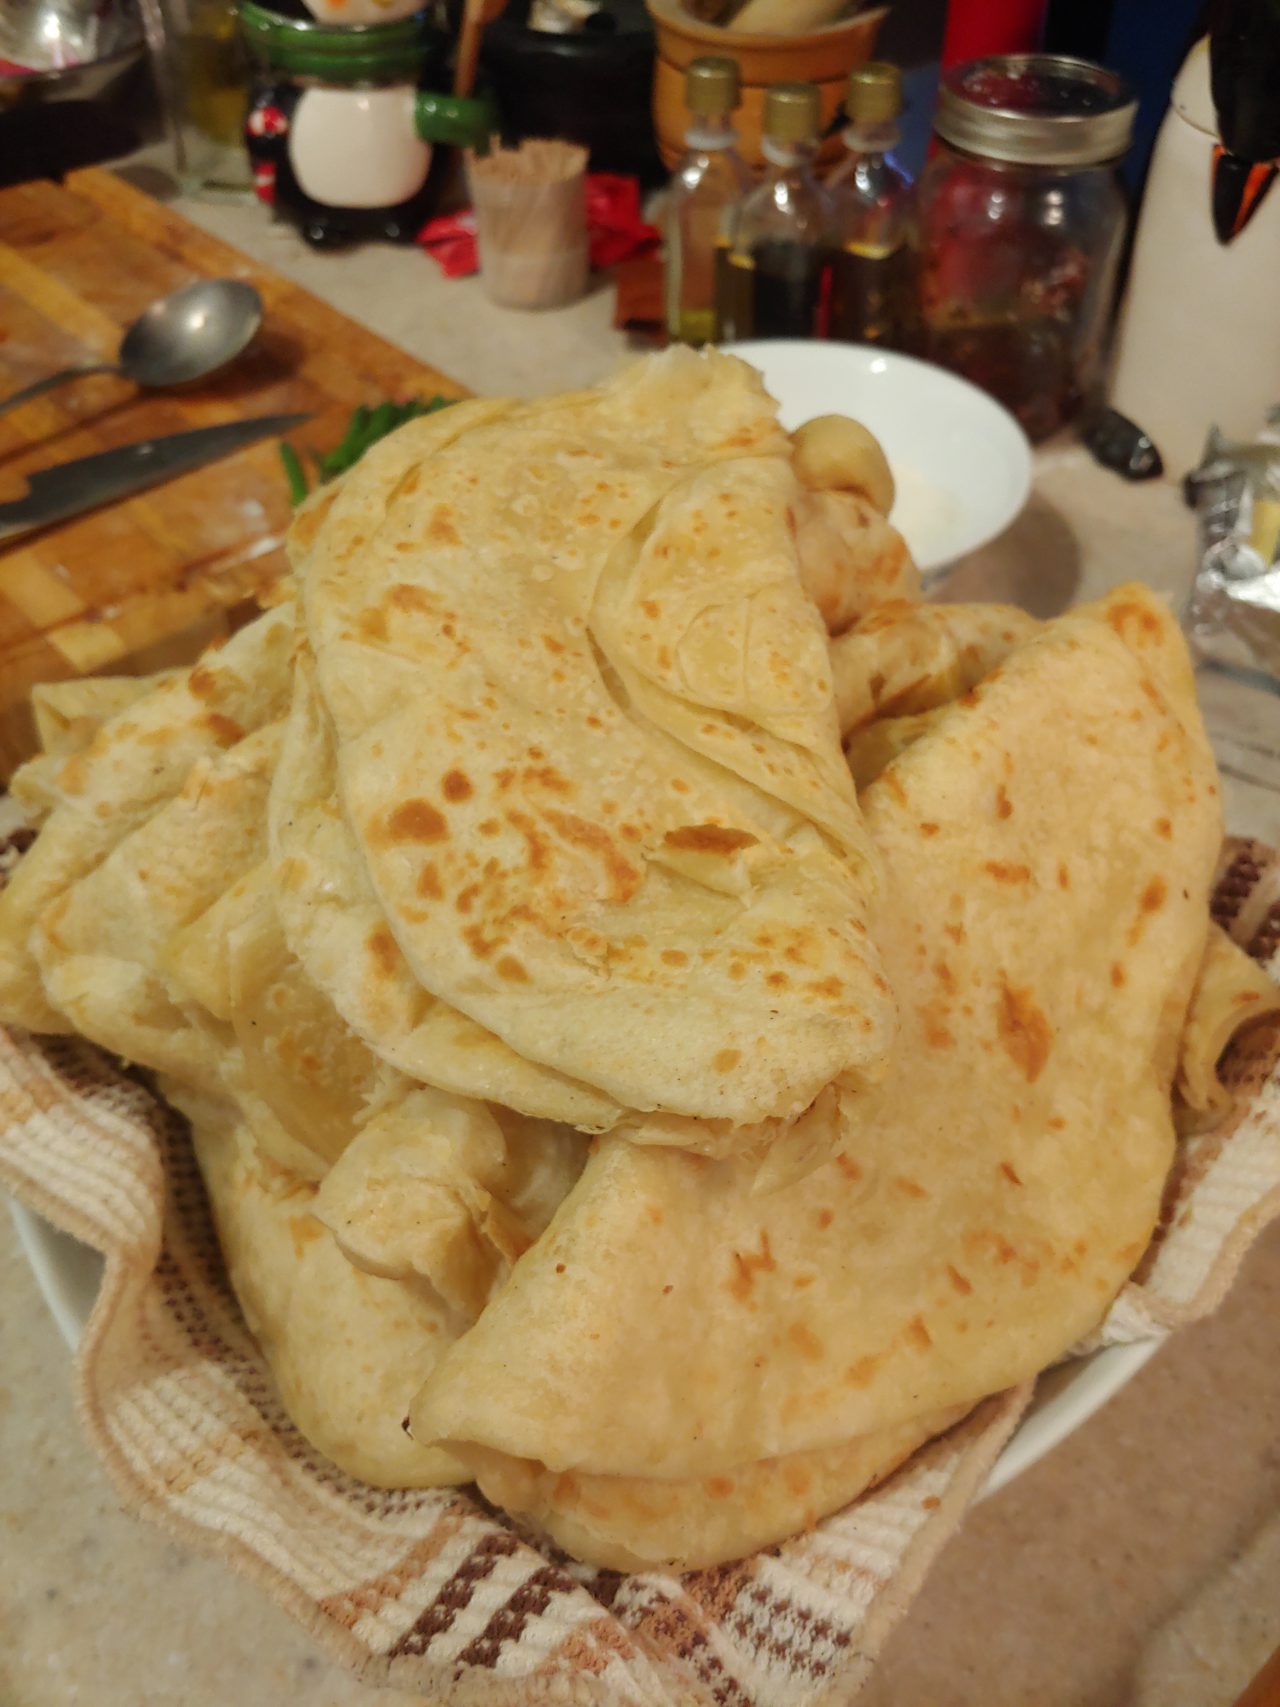
This is a very typical roti you’ll see in Trinidad and Guyana. It’s similar to paratha that you’ll find in India, but like a lot of Indo-Caribbean food it’s been adapted and modified.
This roti is soft and flaky with layers that pull apart like a croissant. The best part is you can play with the food. As it finishes cooking you beat up the roti to separate the layers. It got the name buss-up-shut since it’s said to resemble a busted up shirt when it’s done.
Ingredients (makes 8-10 roti)
- 4 cups all-purpose flour + flour for dusting
- 3 tsp baking powder
- 1 tsp salt
- 1.75 cups warm water
- 2 tbsp butter
- 1 cup softened butter/oil/ghee
- 1 cup oil/ghee for cooking
Method
- In a large mixing bowl smush the 2 tbsp butter through the flour so it’s well incorporated
- Add baking powder and salt. Stir to combine
- Add the warm water and knead till everything is combined and you’ve got a soft dough. Probably 8-10 min worth of kneading.
- NOTE: the dough is less than 50% hydration, so it’ll take some elbow grease to get this kneaded. It needs to be soft, pliable and have no dry spots, but not be sticky. If the dough is starting to stiffen up before everything is fully incorporated, just soak your hand in water, flick off the excess and start kneading again.
- Once kneaded, spread a thin layer of oil over the top, seal tightly with some plastic wrap and let the dough rest for at least 10min, but ideally 30min.
- Once rested, divide the dough into 8-10 pieces and roll into a ball in your hand. Keep the balls of dough covered so they don’t dry out.
- Pre heat a 10-12in diameter frying pan/cast iron pan/tawa over medium heat
- Take one dough ball and dip in some flour and dust off the excess.
- Roll the dough into an 8-10in round
- Take some of the softened butter/oil/ghee (about a tablespoon or so) and spread all over the surface of the rolled out roti. Dust the oiled surface with a little flour
- With a knife, make a cut from the centre of the roti out to the edge. Starting from one of the cut edges, roll the dough into a cone shape.
- Tuck the fat end of the cone in on itself, then stand it up, and push the skinny end down so you’re left with a squished/squashed round-ish shape. Set this aside under some plastic wrap and repeat with the remaining dough balls.
- Dust your working surface and rolling pin with some flour. Take one of the dough balls from Step 11 and roll this out into a 8-10in round (or as big as your tawa/frying pan/skillet will hold)
- Place the rolled out dough on your tawa/frying pan/skillet and brush on a teaspoon of oil. Flip the roti and brush the other side with a teaspoon of oil. Continue to cook the roti, flipping every 10-15 seconds. Depending on your heat/stove/pan the roti shouldn’t take more than 1-2 minutes to cook. You’re looking for the edges to cook through and some brown spots to start appearing on both sides.
- When cooked transfer to a bowl lined with a tea towel or some paper towel. Now comes the fun part. Pick up the roti and clap it between your hands a few times to separate all the layers. Once it’s sufficiently clapped, return to the bowl, cover with a towel to keep warm and soft. Repeat steps 7-14 with the remaining dough balls.
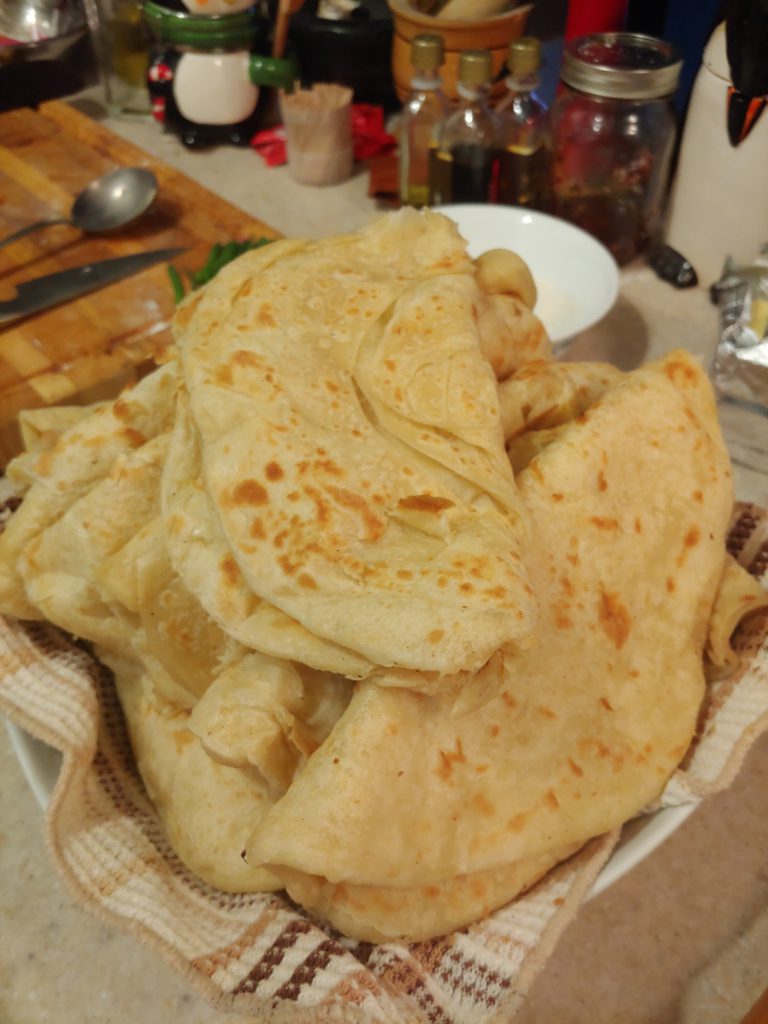
The Finished Product! 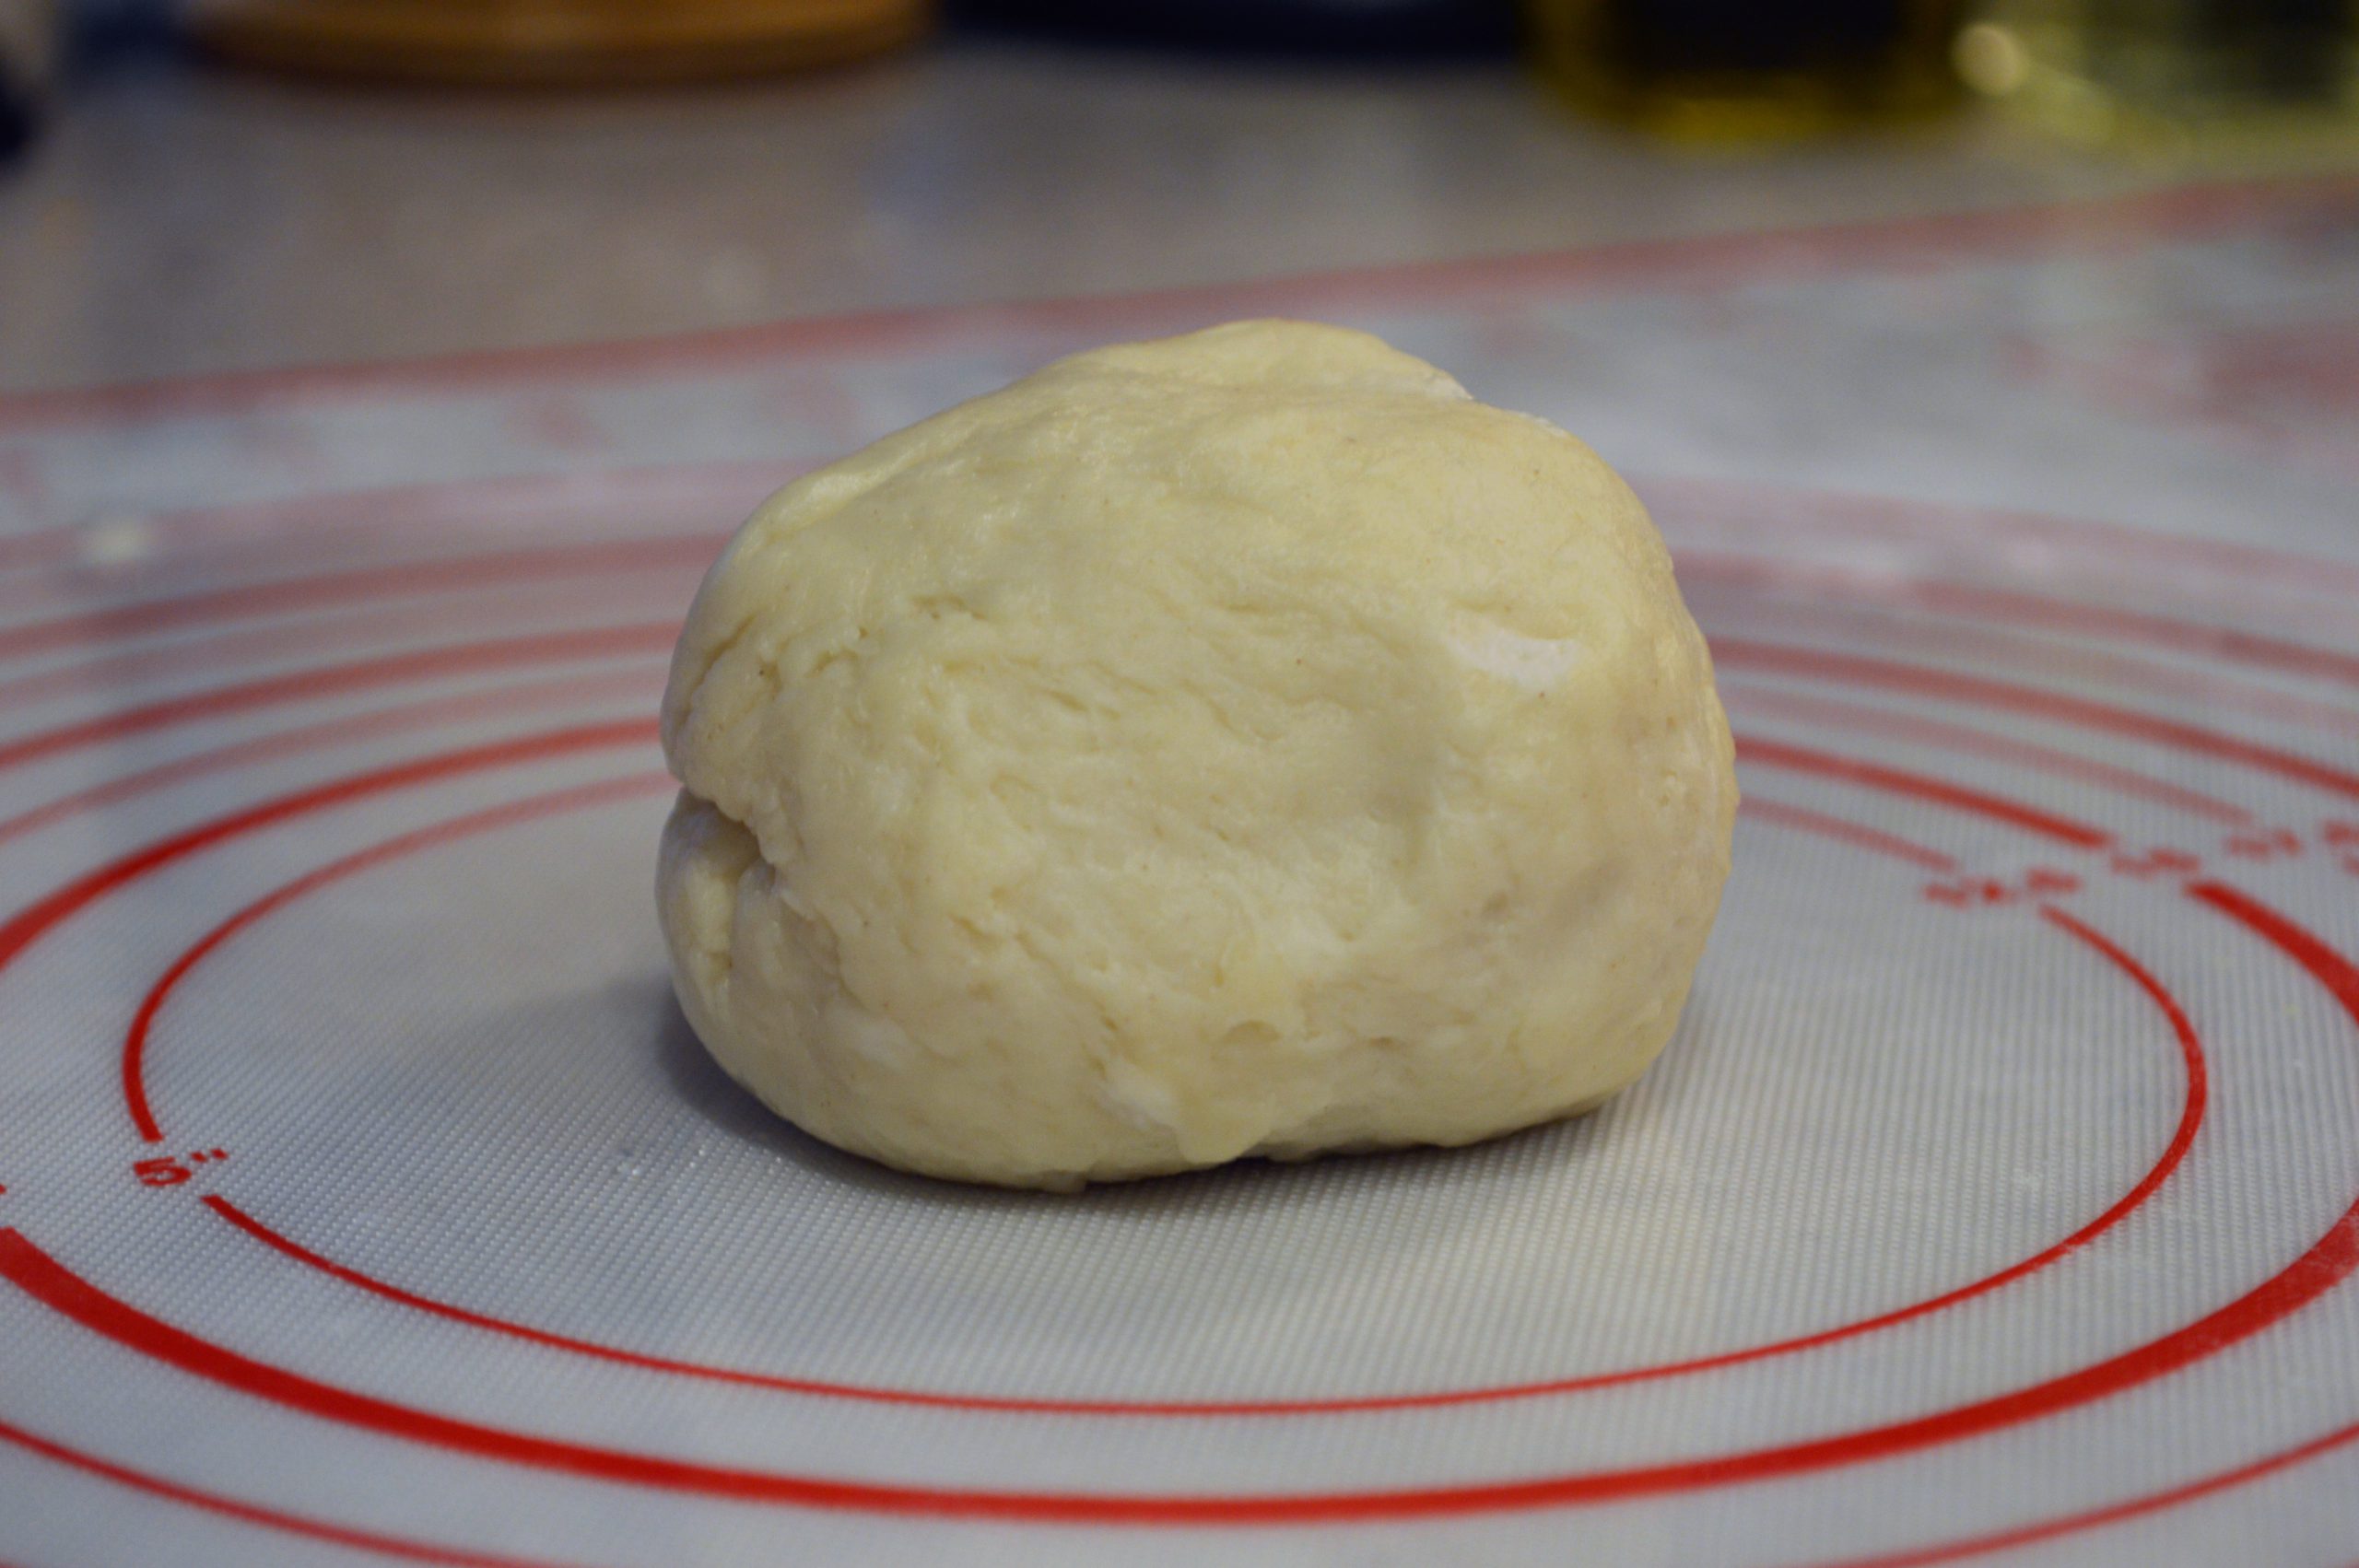
Dough has been kneaded and portioned out into a loy 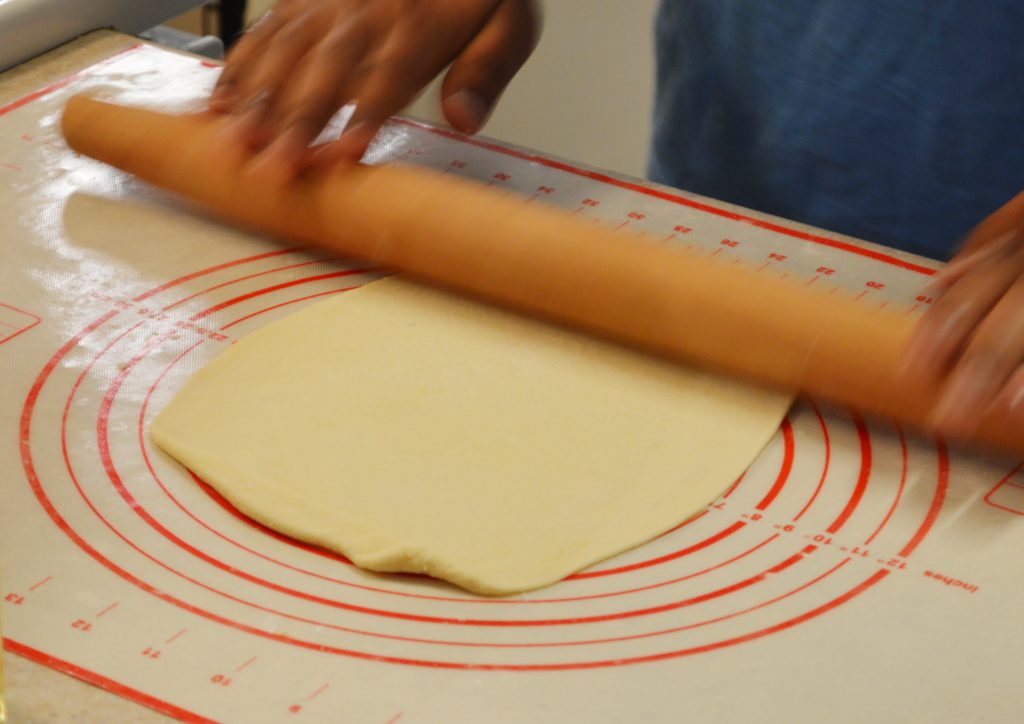
Roll out the ball of dough 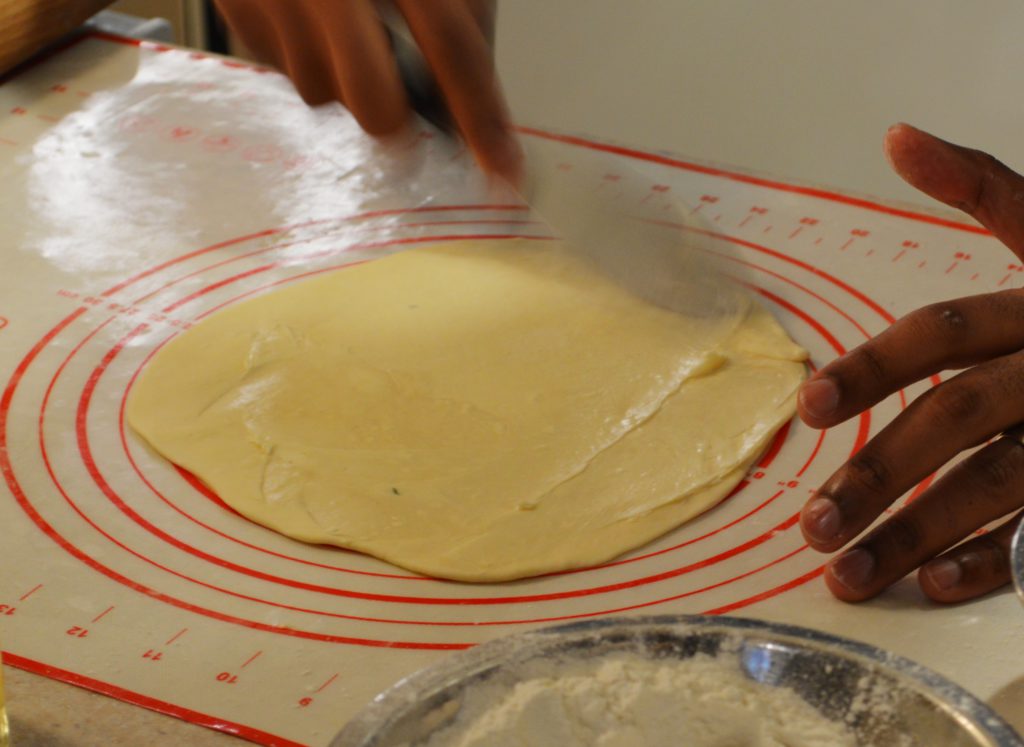
Spread your butter/oil/ghee 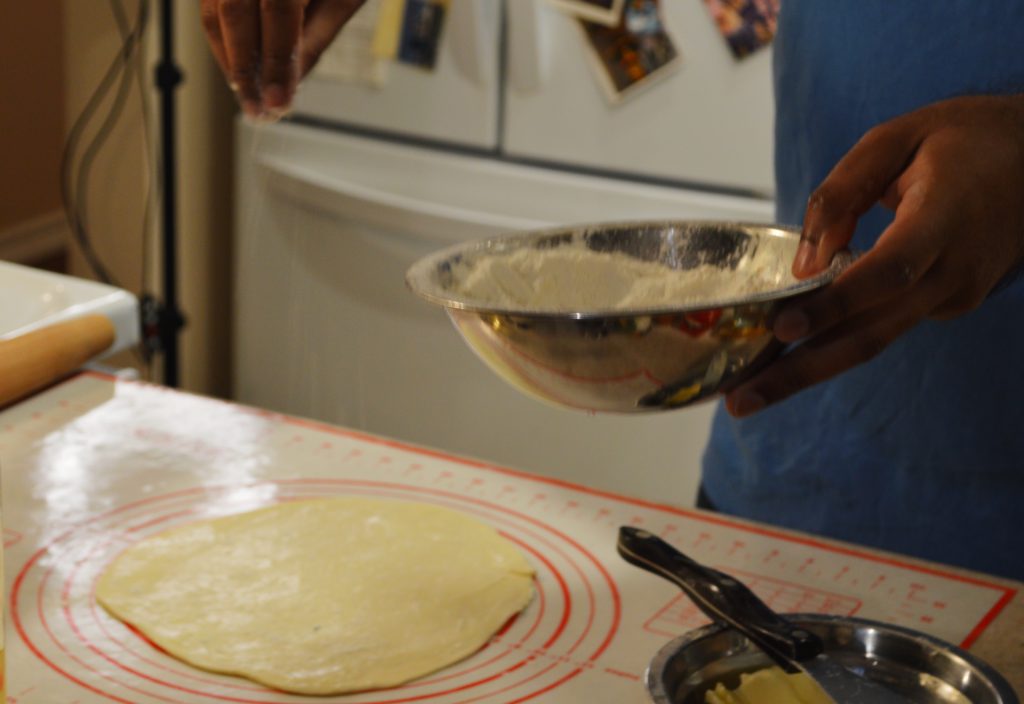
Sprinkle the roti with some flour after the butter 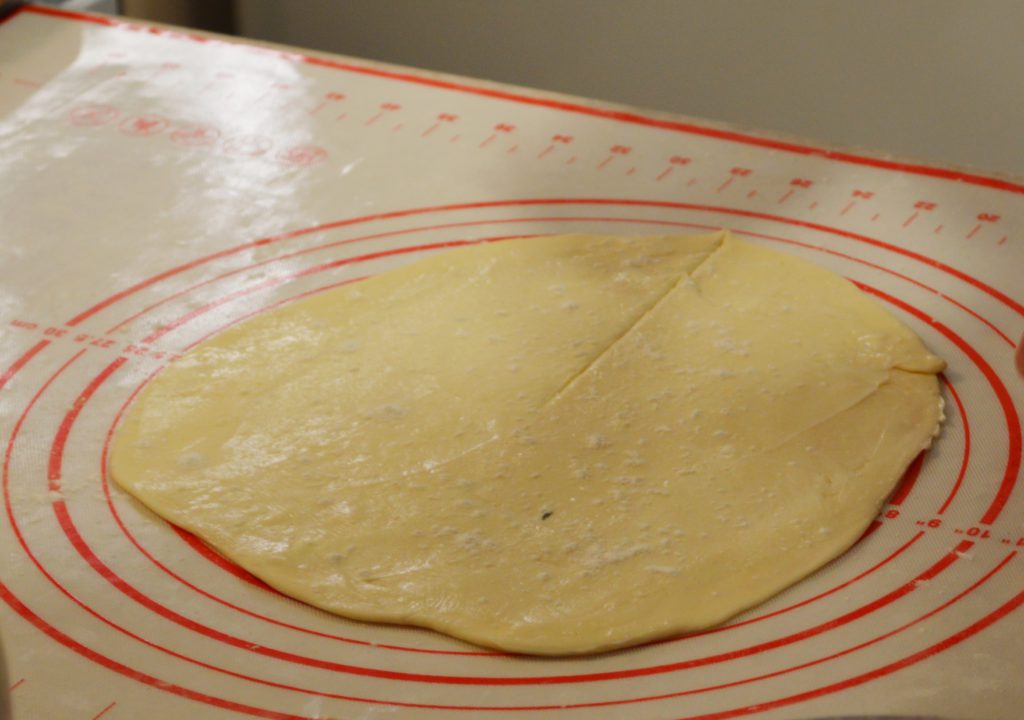
Cut a slit from the middle to the edge 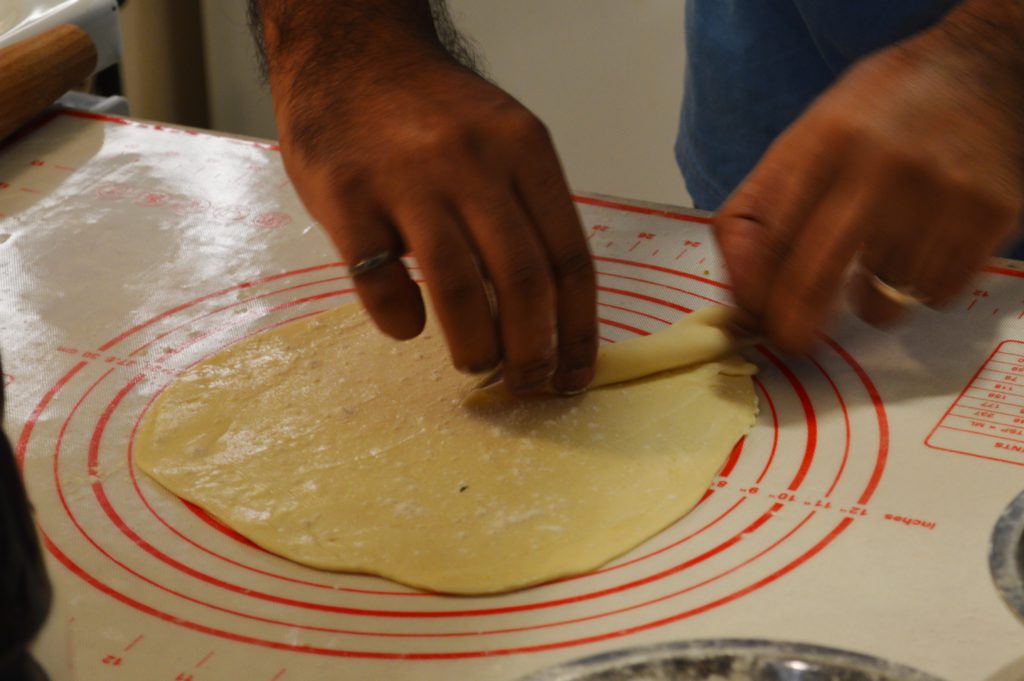
Roll the roti into a cone 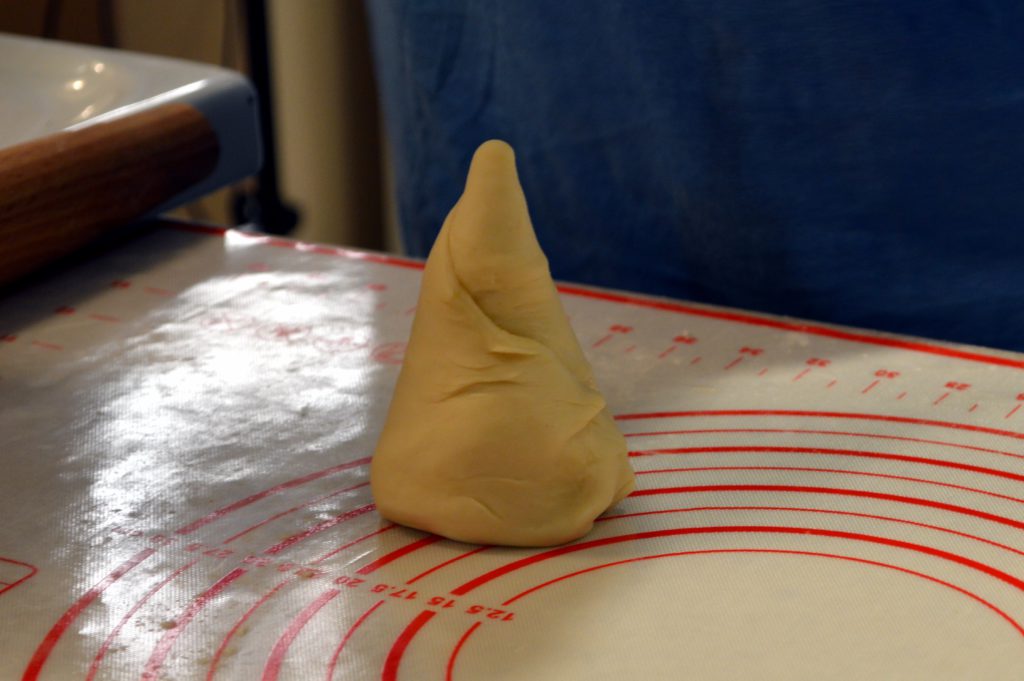
Tuck the fat end of the cone into itself to create this wizard hat shape 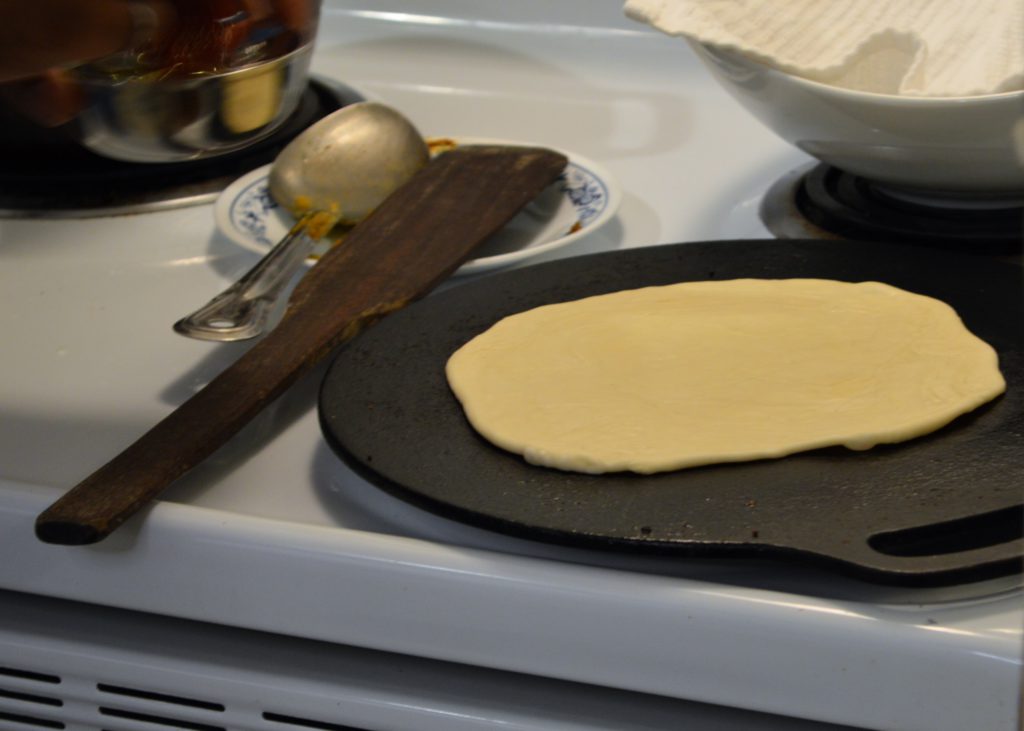
Cook on the tawa 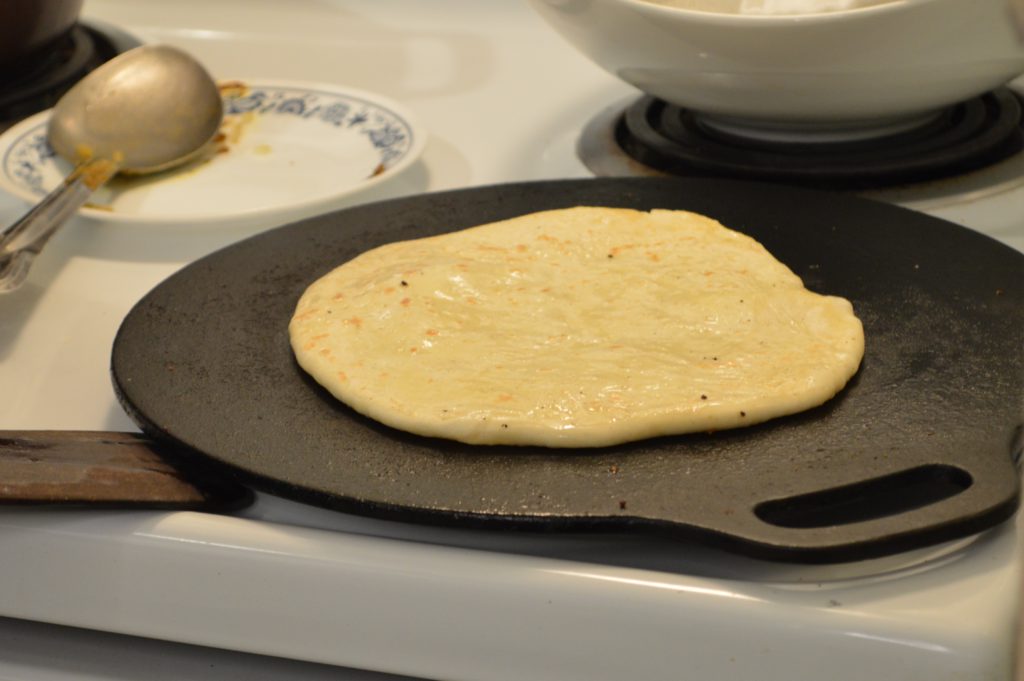
Flip and brush with oil 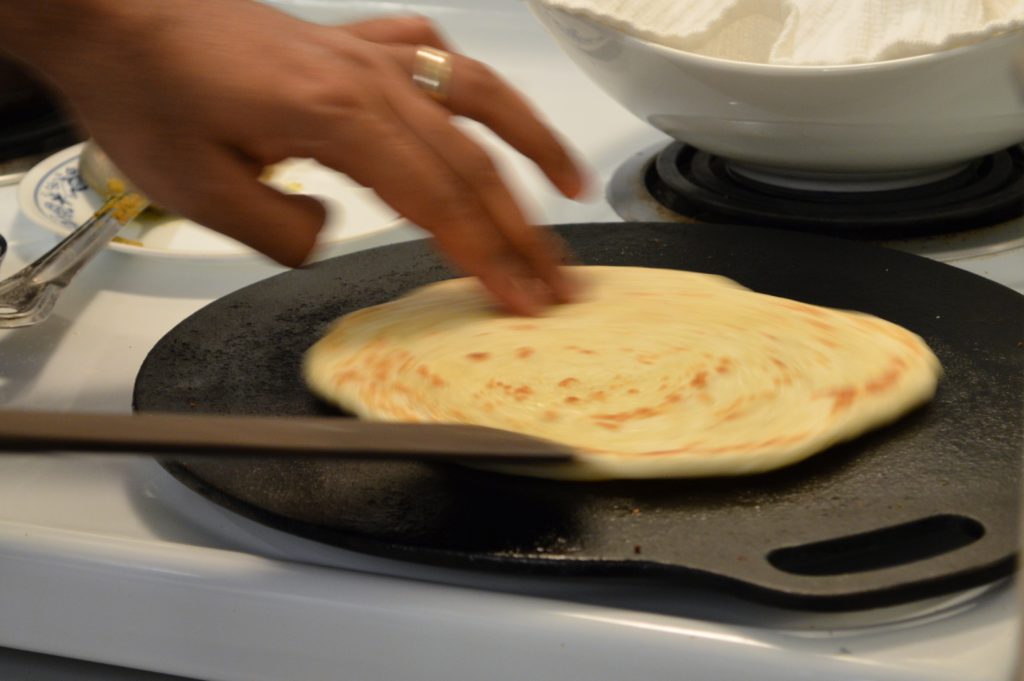
Spin and press the roti to get it evenly cooked 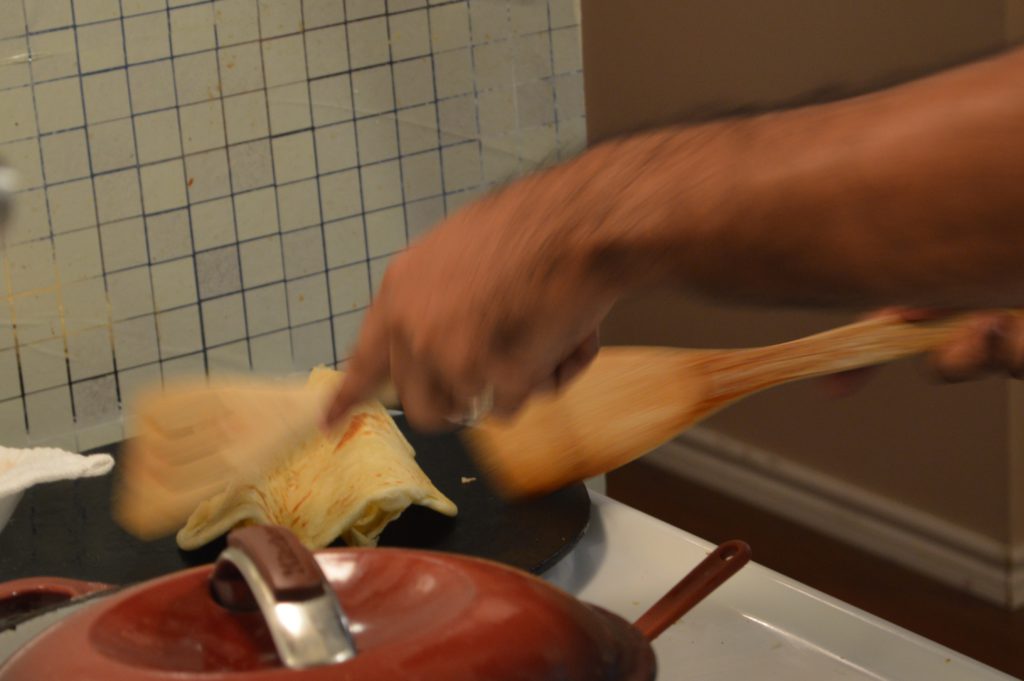
Buss up de roti!